
Velociraptor is a powerful digital forensics and incident response (DFIR) platform that allows security teams to collect, monitor, and hunt across endpoints. This guide will walk you through installing both the Velociraptor server and client components.
Part 1: Server Installation
Step 1: Download Velociraptor
Create a setup directory and download the latest Velociraptor binary:
mkdir ~/velociraptor_setup && cd ~/velociraptor_setup

# Download the latest version (check GitHub for the latest release)
wget -O velociraptor https://github.com/Velocidex/velociraptor/releases/download/v0.74/velociraptor-v0.74.1-linux-amd64

# Make it executable
chmod +x velociraptor
Step 2: Create the Server Configuration File
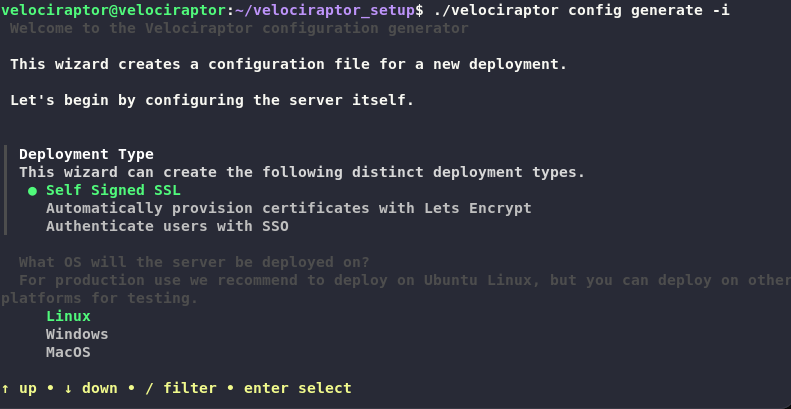
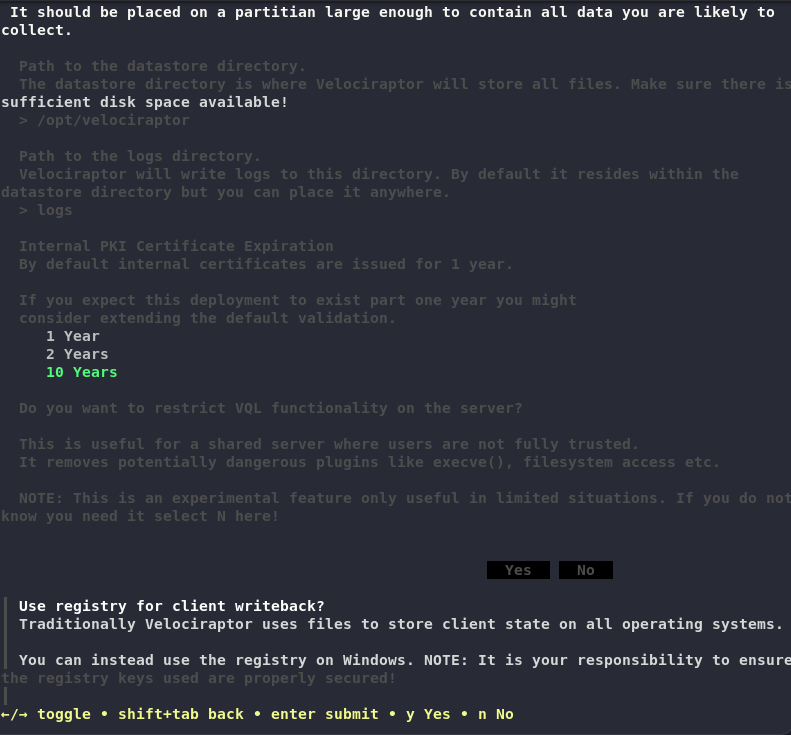
Generate the server configuration interactively:
./velociraptor config generate -iThis interactive wizard will prompt you for:
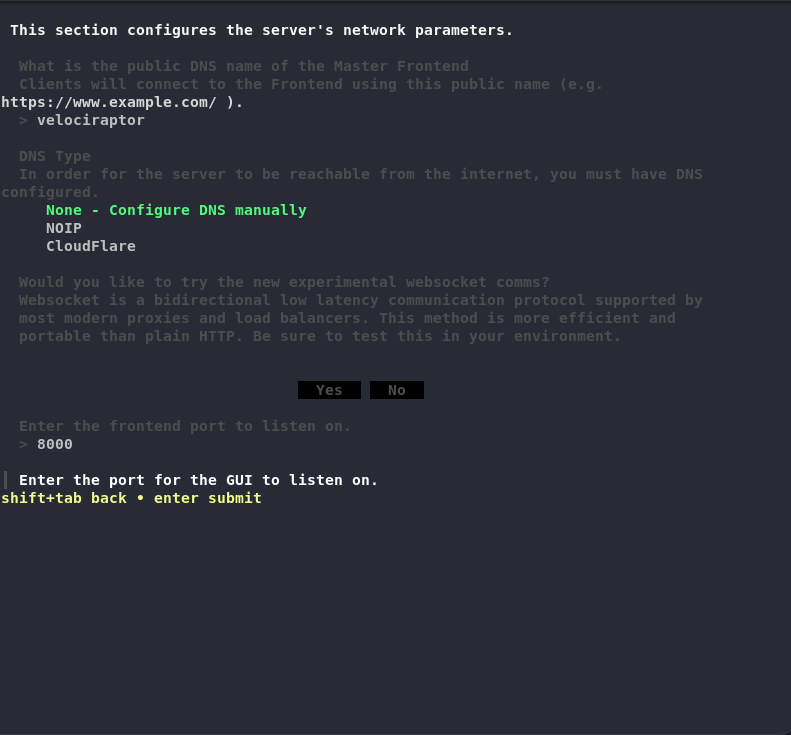
- Server name
- Organization name
- Data store location
- Frontend bind address and port
- GUI bind address and port
- Certificate configuration
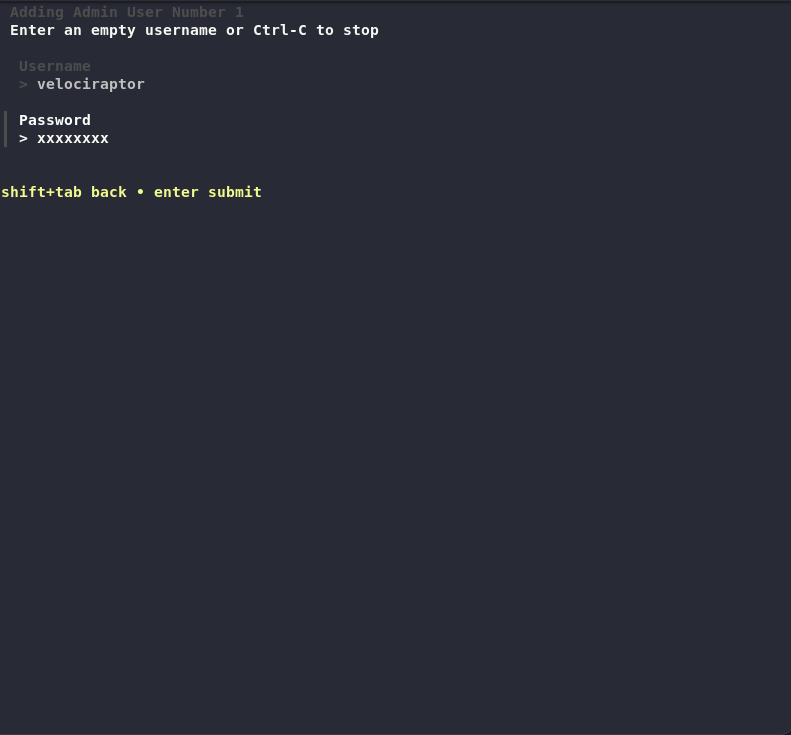
- Authentication method
Follow the prompts and provide the required information. The configuration file server.config.yaml will be created in the current directory.
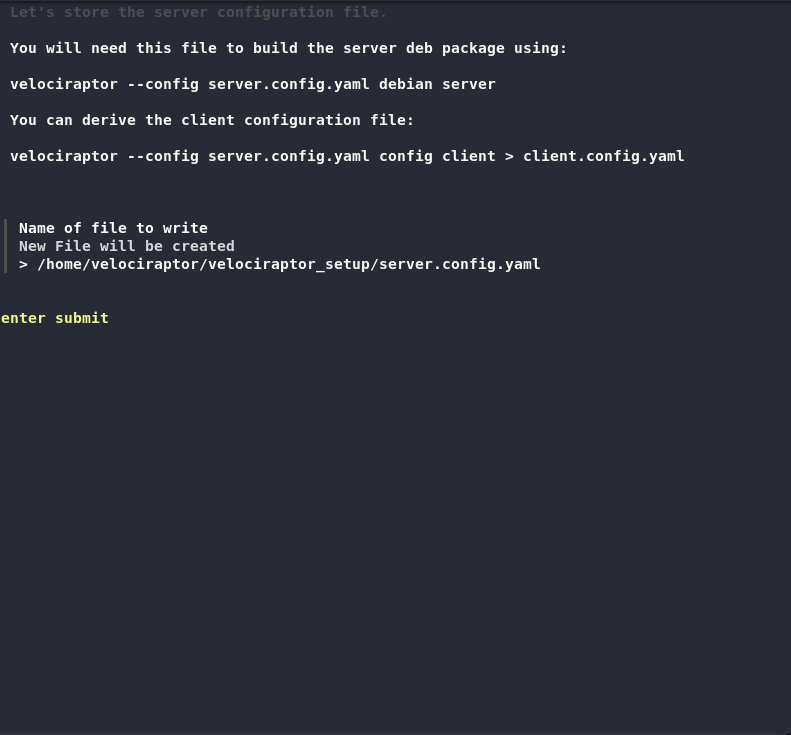

Step 3: Configure Network Bindings
Edit the generated server.config.yaml file to allow remote access:
nano server.config.yamlChange GUI bind address:
Find and modify:
GUI:
  bind_address: 127.0.0.1
To:
GUI:
  bind_address: 0.0.0.0
Change Frontend bind address:
Find and modify:
Frontend:
  bind_address: 127.0.0.1
To:
Frontend:
  bind_address: 0.0.0.0
Note: Binding to 0.0.0.0 allows access from any network interface. For production environments, consider binding to a specific IP address or using a reverse proxy.
Save and close the file.
Step 4: Create the Server Installation Package
For Debian/Ubuntu-based systems:
./velociraptor debian server --config ./server.config.yamlFor RHEL/CentOS/RPM-based systems:
./velociraptor rpm server --config ./server.config.yamlThis will create a .deb or .rpm package file in the current directory. Example output:
Creating amd64 server package at velociraptor_server_0.74.1_amd64.debStep 5: Install the Server Component
For Debian/Ubuntu:
sudo dpkg -i velociraptor_server_0.74.1_amd64.debFor RHEL/CentOS:
sudo rpm -Uvh velociraptor_server_0.74.1_amd64.rpmThe installation will:
- Copy the Velociraptor binary to
/usr/local/bin/velociraptor.bin - Copy the configuration to
/etc/velociraptor/server.config.yaml - Create and enable a systemd service
Step 6: Verify Server Installation
Check the service status:
sudo systemctl status velociraptor_server.serviceThe service should show as “active (running)”. If it’s not running, check the logs:
sudo journalctl -u velociraptor_server.service -n 50Step 7: Verify Network Ports
Verify that the GUI and Frontend ports are listening:
# Check GUI port (default: 8889)
nc -vz localhost 8889

# Check Frontend port (default: 8000)
nc -vz localhost 8000
Both commands should show successful connections.
Step 8: Access the Velociraptor Web Interface
The Velociraptor server is now available at:
https://<server-ip>:8889Note: Replace <server-ip> with your server’s IP address or hostname.
Default credentials:
- Username:
admin - Password: The password you set during the interactive configuration
If you need to reset the admin password, you can use:
sudo velociraptor --config /etc/velociraptor/server.config.yaml user reset --user admin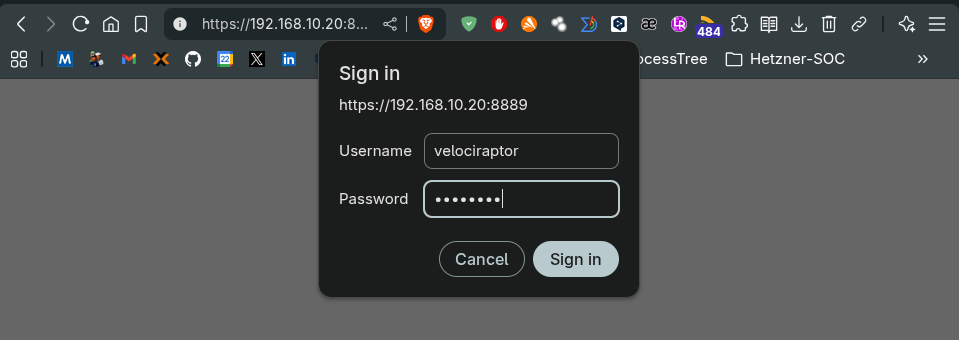
Part 2: Client Installation
Windows Client Installation
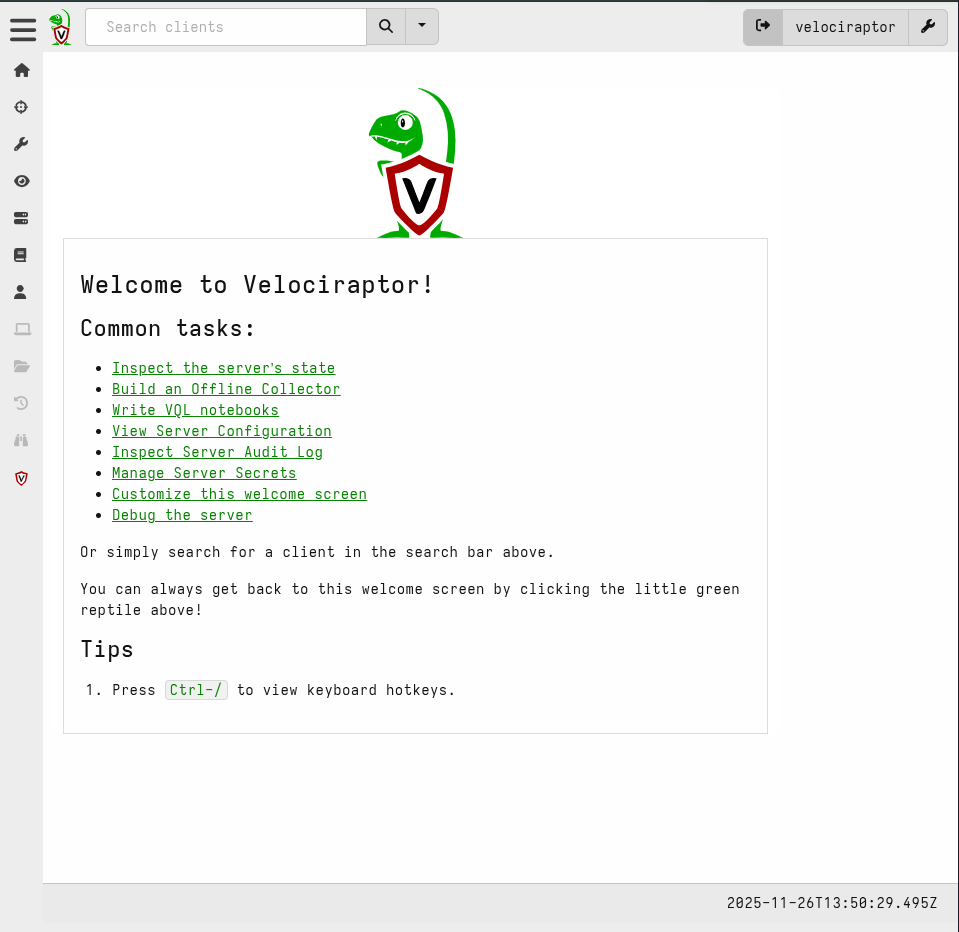
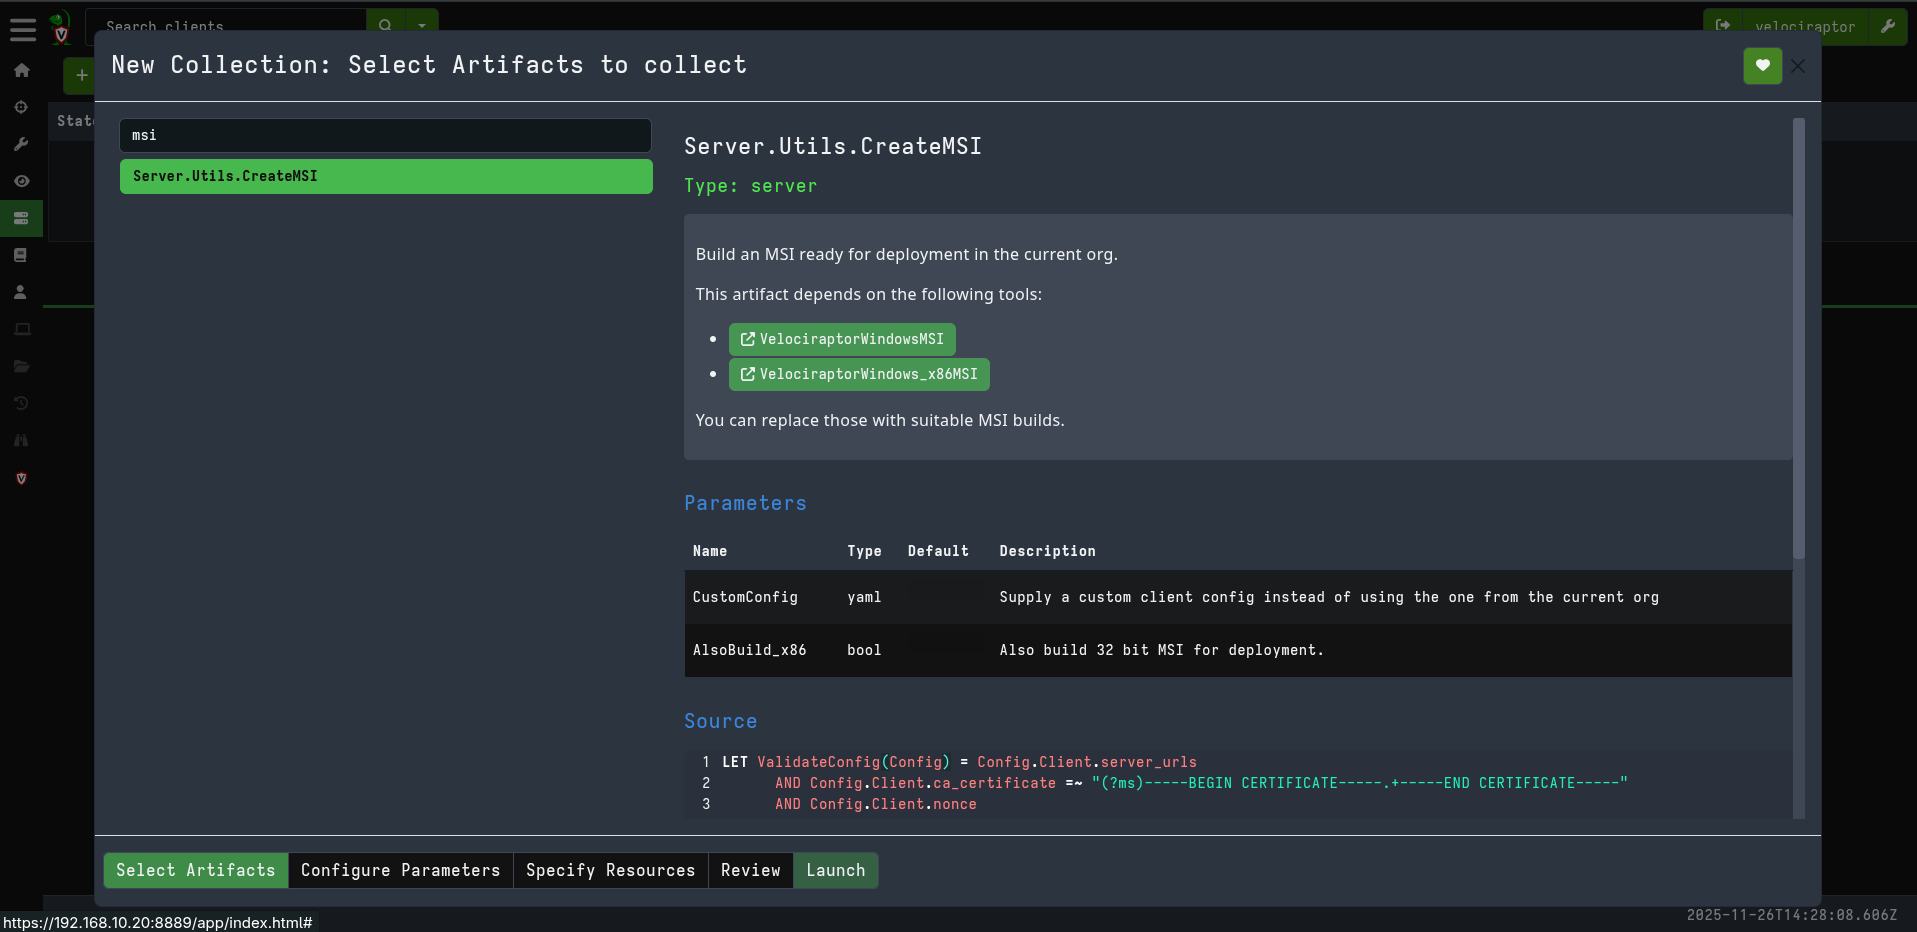
Method 1: Using the Web Interface
- Log in to the Velociraptor web interface
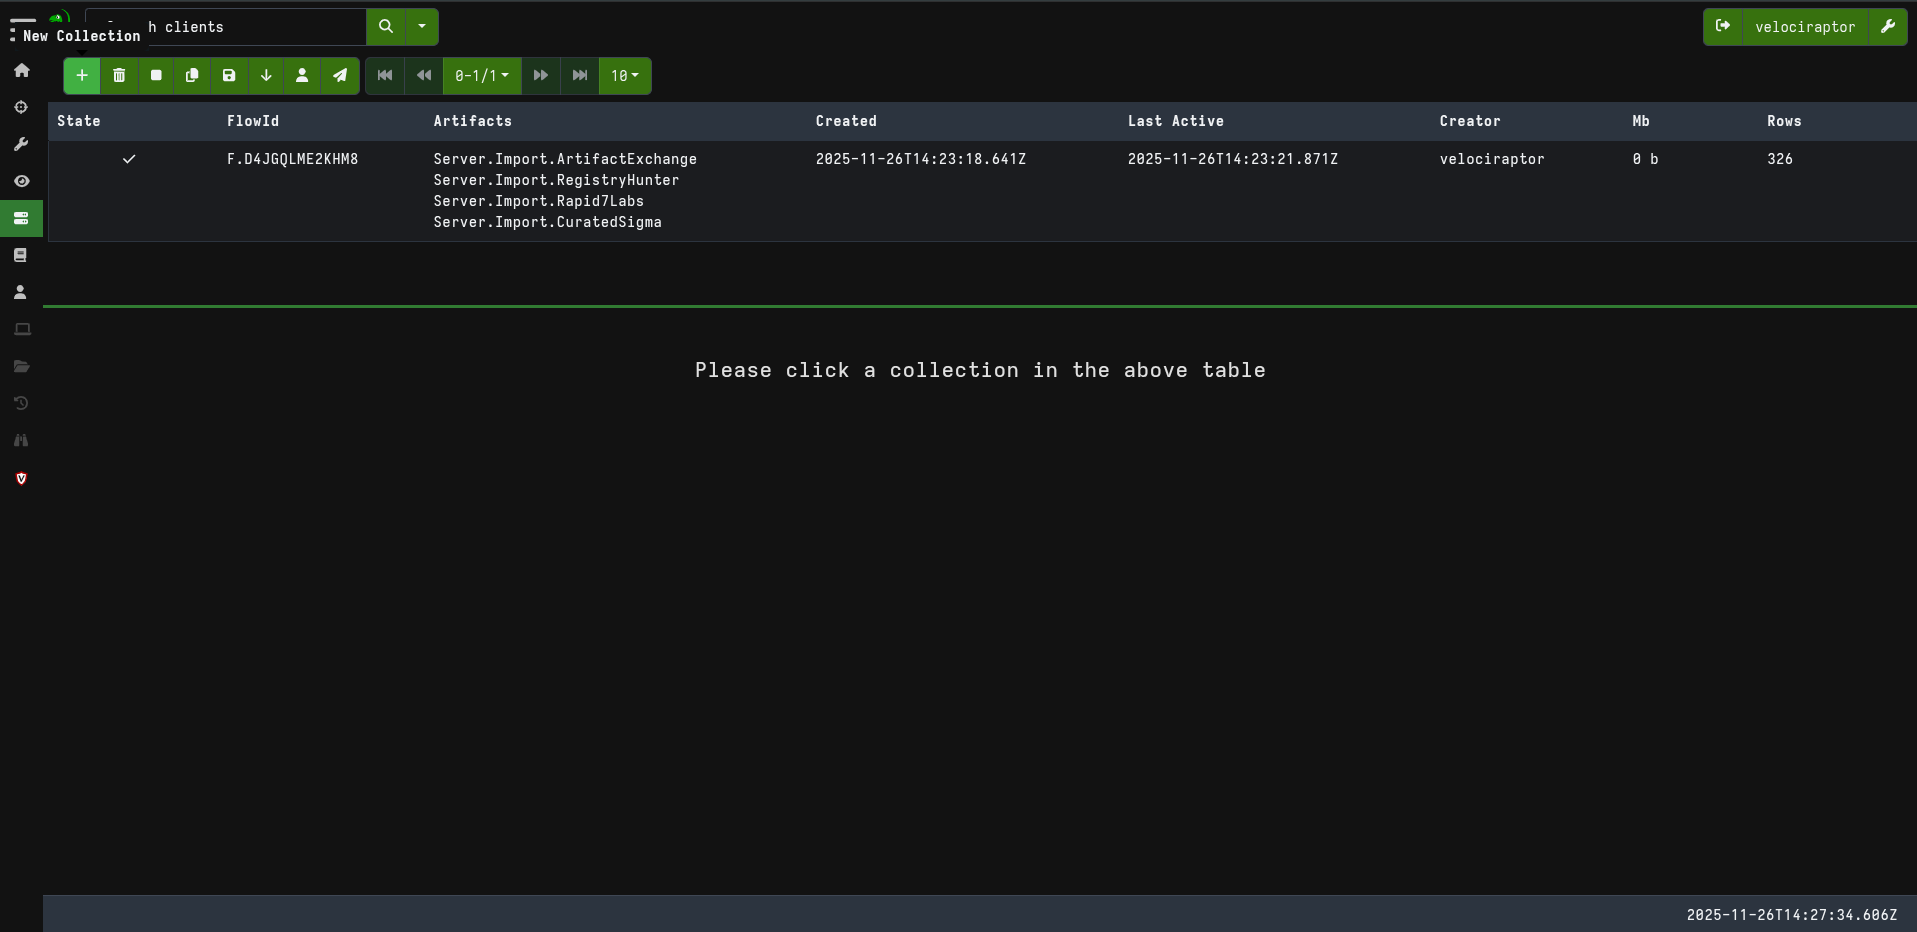
- Navigate to Server Artifacts → New Collection
- Select Windows.Client.Installer artifact
- Configure the collection parameters
- Click Launch to start the collection
- Download the generated installer file
- Distribute and run the installer on Windows endpoints

Method 2: Using Command Line
You can also generate Windows installers from the command line:
./velociraptor config client --config server.config.yaml > client.config.yaml
./velociraptor --config server.config.yaml msiexec --config client.config.yaml
Linux Client Installation
For Debian/Ubuntu Systems
Step 1: Create Client Configuration
Generate a client configuration file from the server configuration:
./velociraptor config client --org "root" --config server.config.yaml > client.root.config.yamlNote: Replace "root" with your organization name if different.
Step 2: Create Client Installation Package
Generate the Debian package:
./velociraptor debian client --config client.root.config.yamlThis will create a file like velociraptor_client_0.74.1_amd64.deb.
Step 3: Install on Client Machines
Transfer the .deb package to your Linux clients and install:
sudo dpkg -i velociraptor_client_0.74.1_amd64.debStep 4: Verify Client Service
Check that the client service is running:
sudo systemctl status velociraptor_clientThe service should be active and connected to the server.
For RHEL/CentOS/RPM Systems
Step 1: Create Client Configuration
./velociraptor config client --org "root" --config server.config.yaml > client.root.config.yamlStep 2: Create Client Installation Package
./velociraptor rpm client --config client.root.config.yamlThis will create a file like velociraptor_client_0.74.1_amd64.rpm.
Step 3: Install on Client Machines
Transfer the .rpm package to your Linux clients and install:
sudo rpm -Uvh velociraptor_client_0.74.1_amd64.rpmStep 4: Verify Client Service
sudo systemctl status velociraptor_clientVerify Client Connection
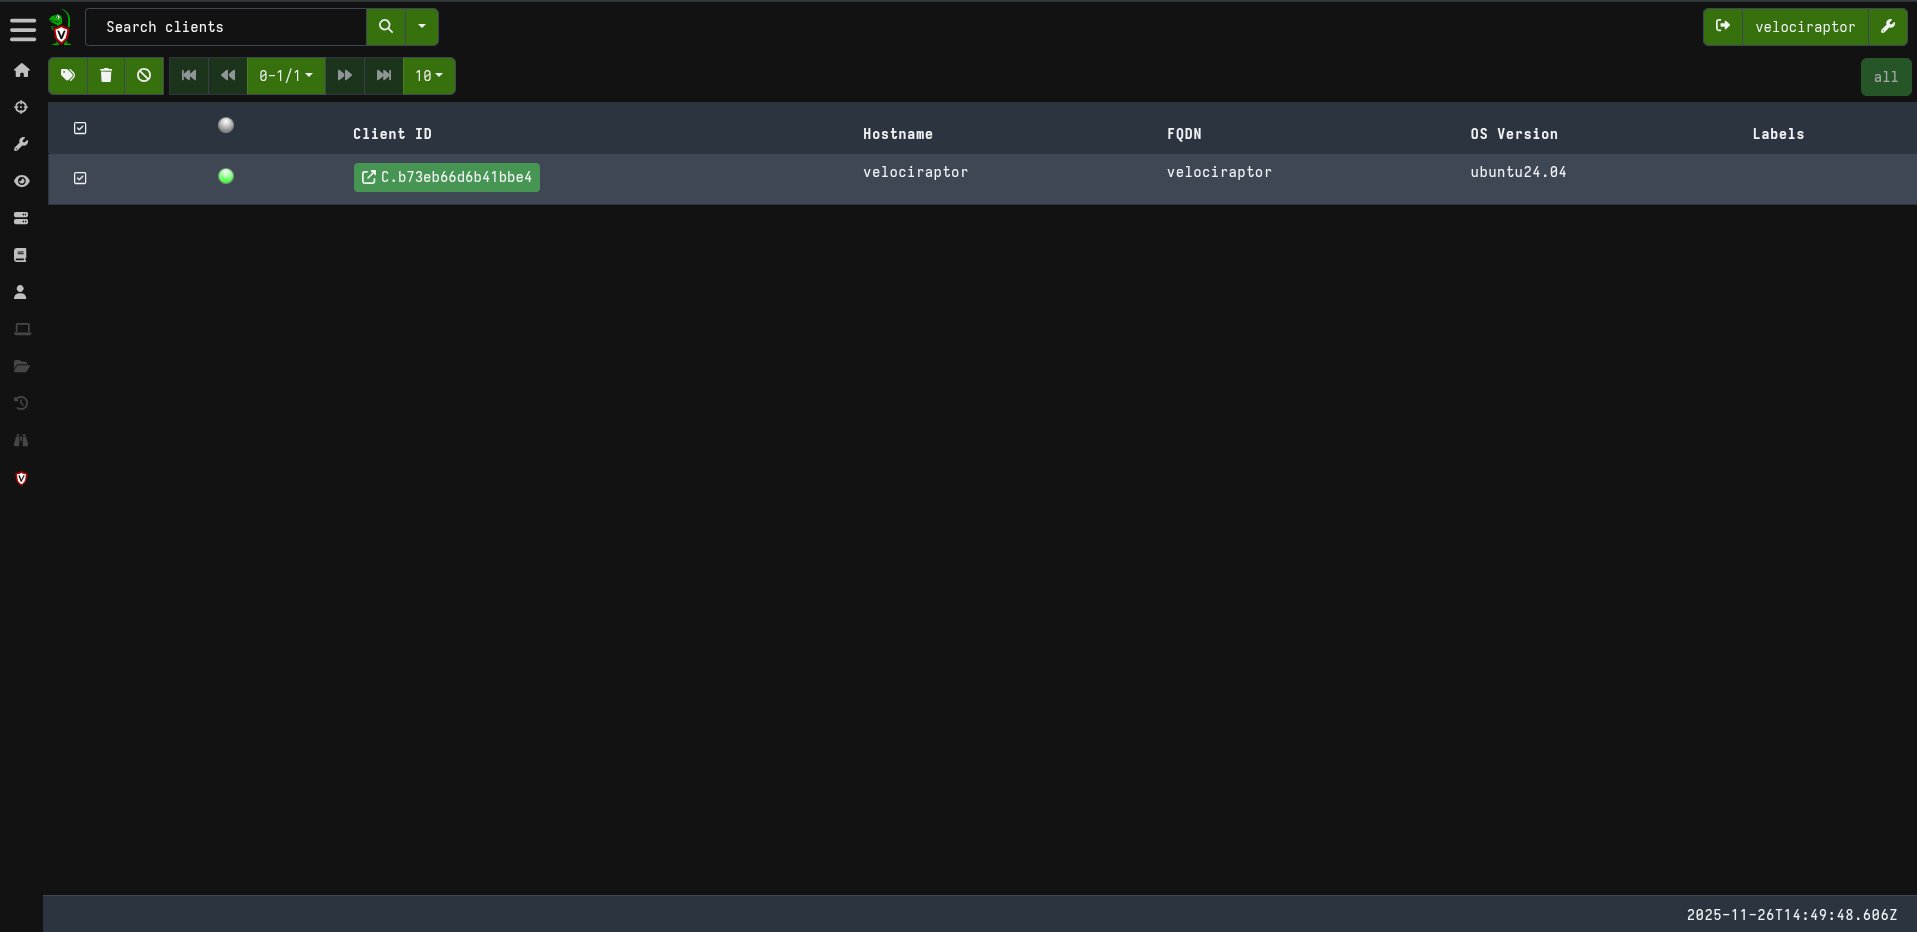
After installing the client packages on your endpoints, they should appear in the Velociraptor dashboard under Hosts. You can verify the connection by:
- Logging into the web interface
- Navigating to Hosts
- Confirming your endpoints are listed and showing as “Online”
Thank you for taking the time to read this article. I hope you find it useful.
Keep up the great work!