
Hi everyone, in this article I will show you how to install the Active Directory Domain Controller role on a Windows Server 2022.
Before starting the installation, we need to configure a few things.
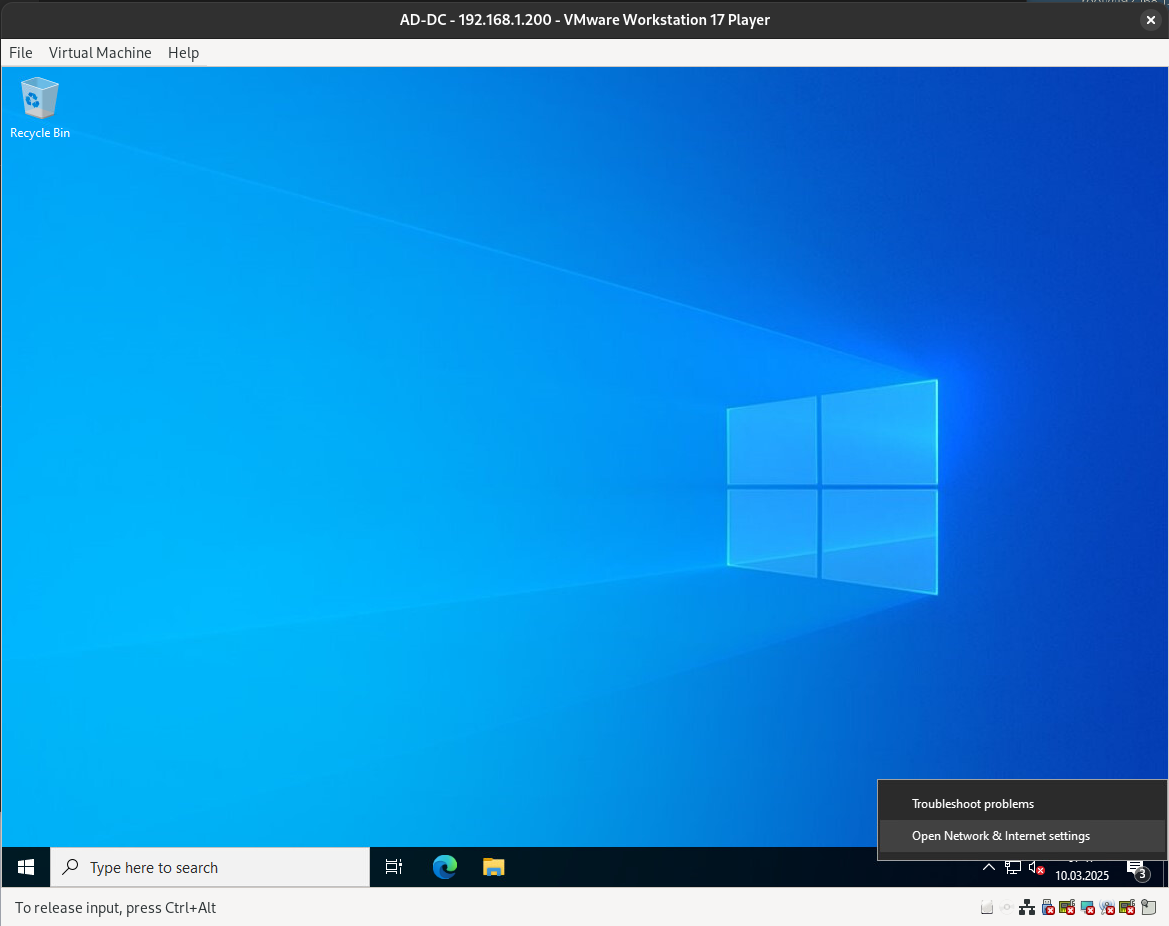
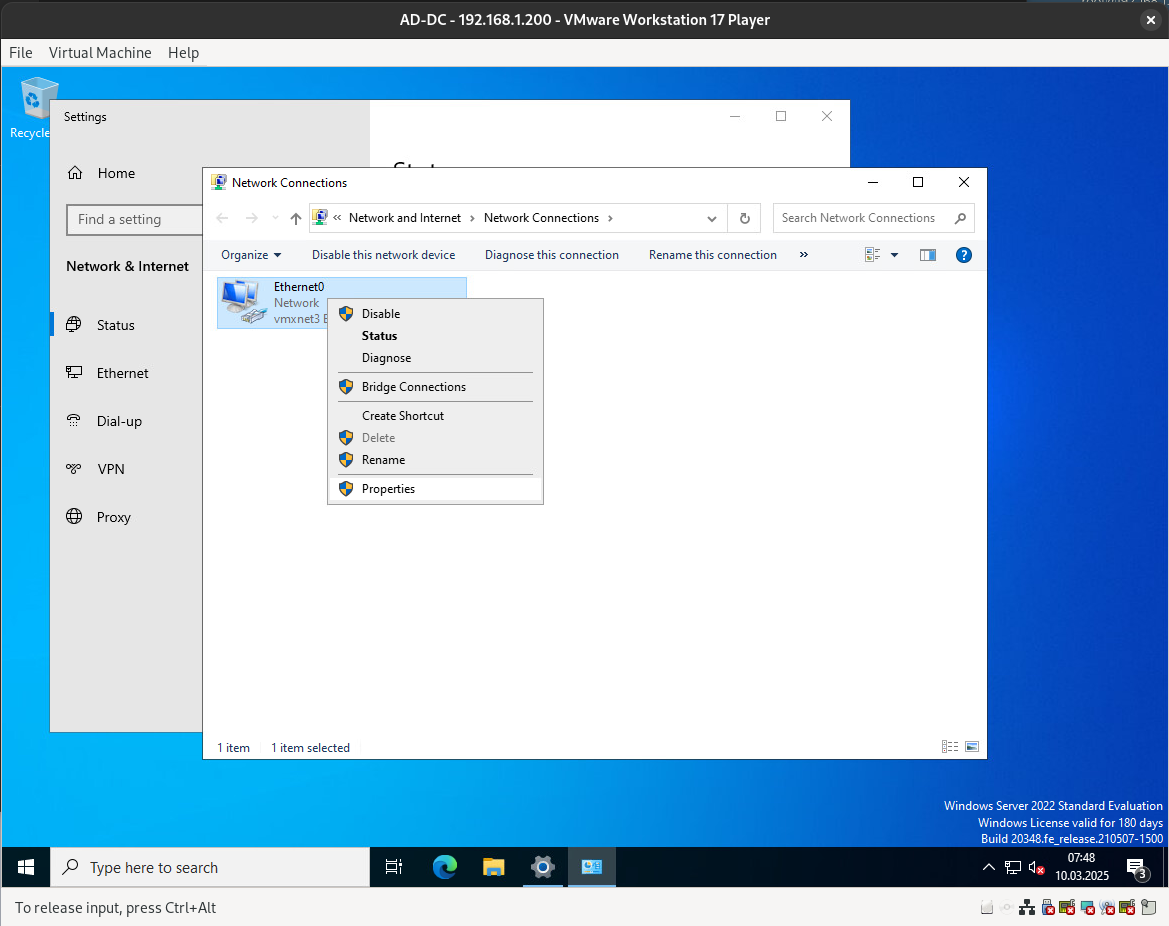
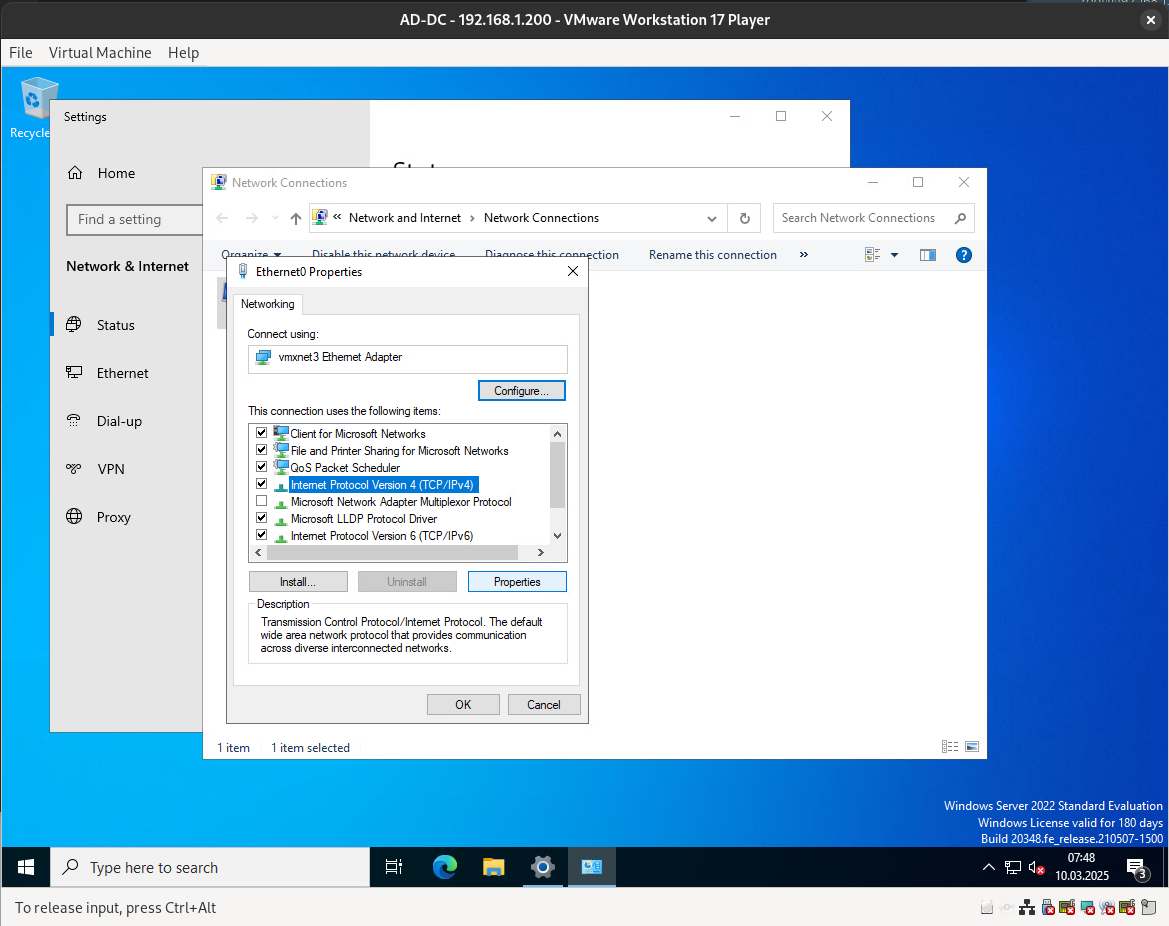
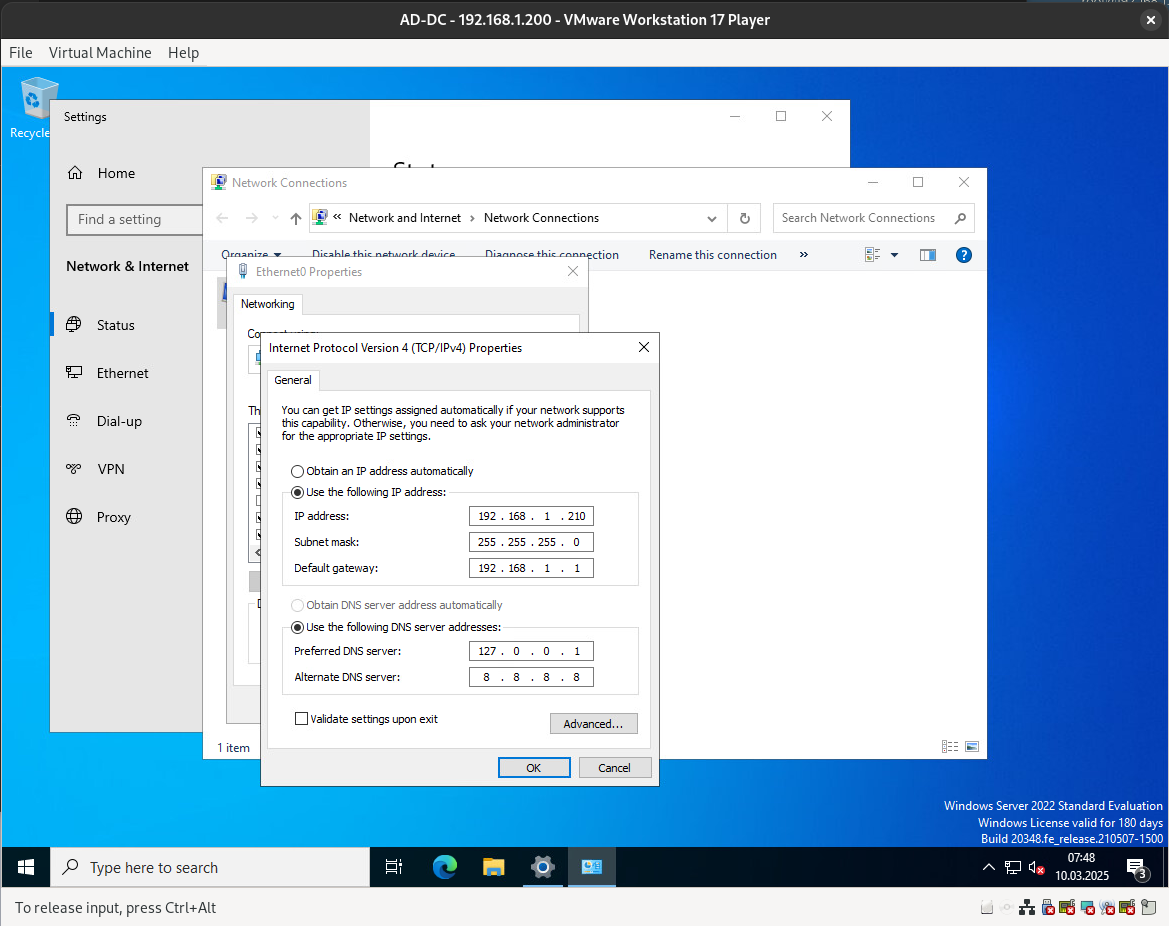
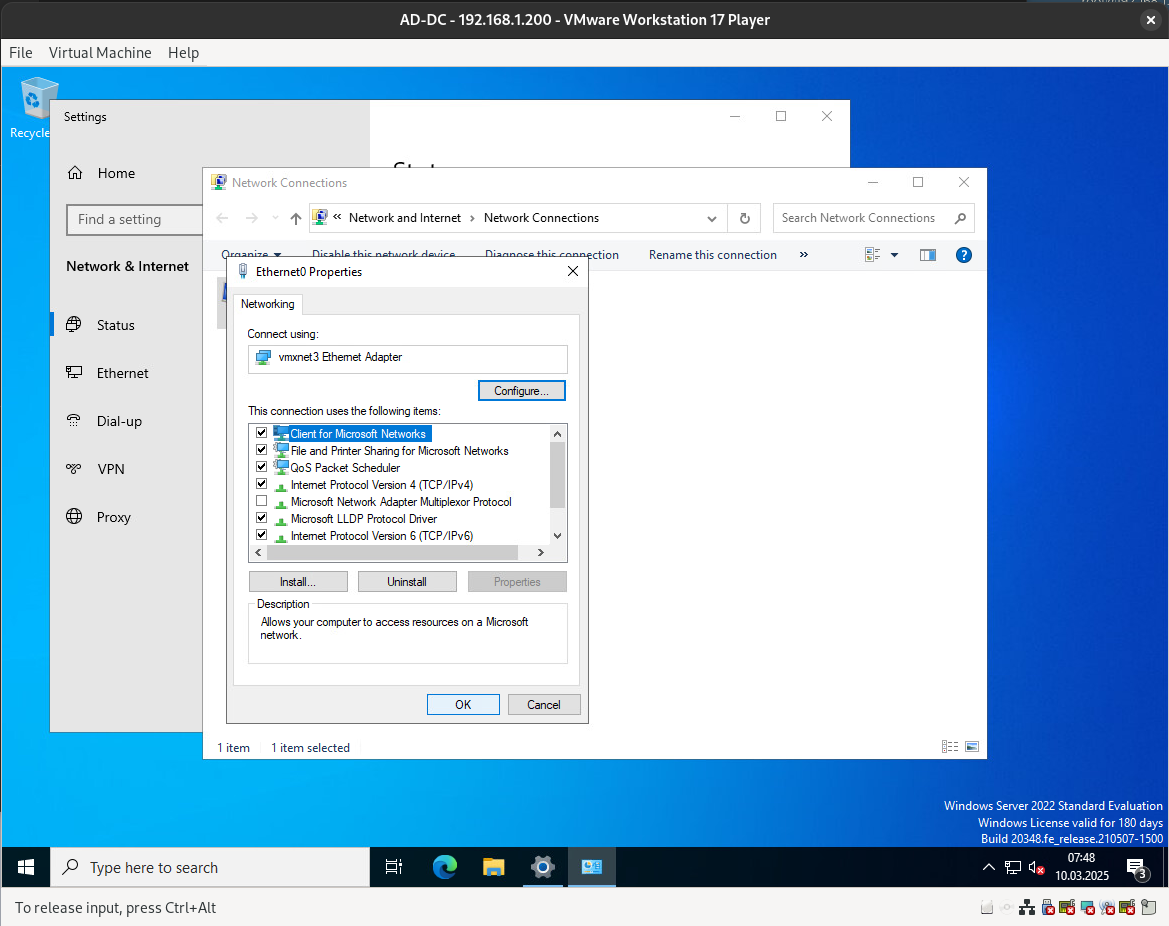
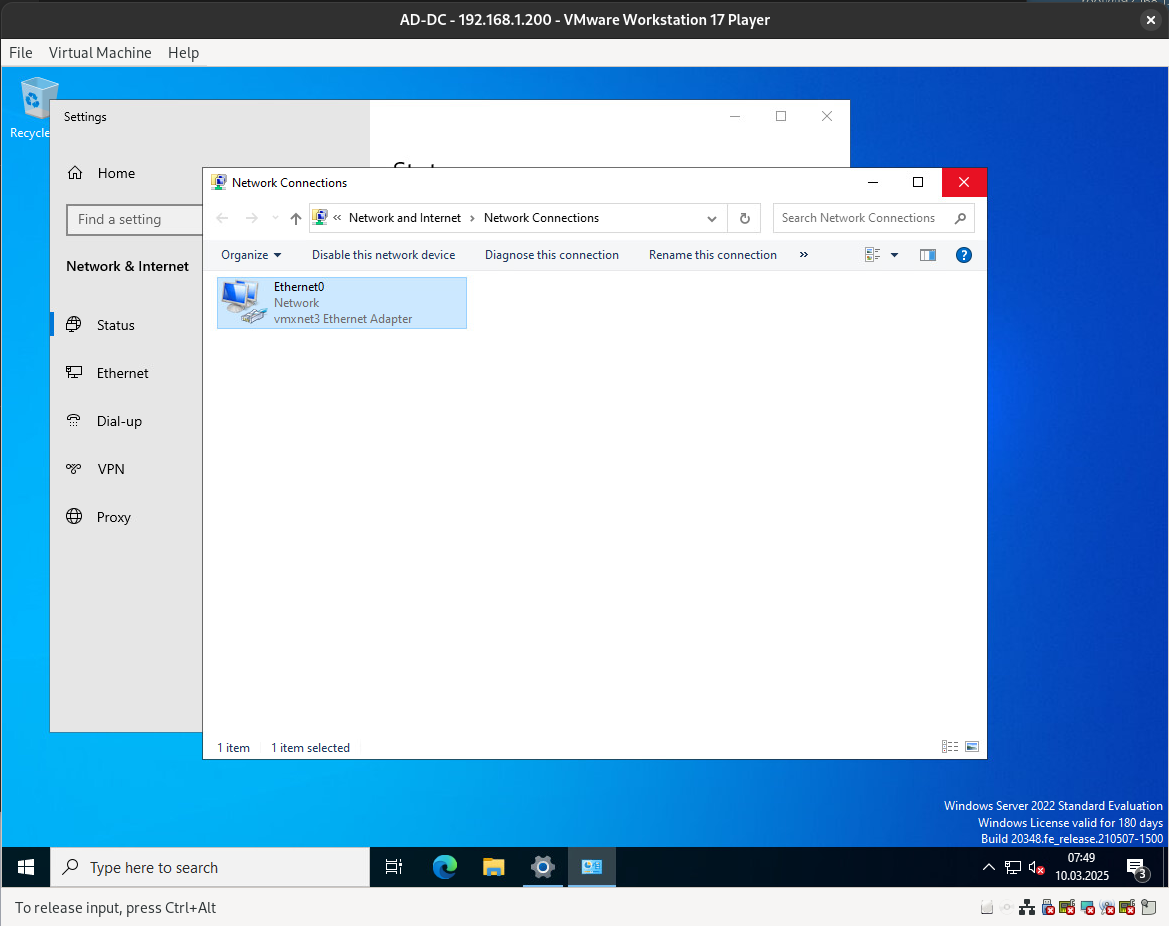
Static IP Address
First, we need to assign a static IP address to our server.

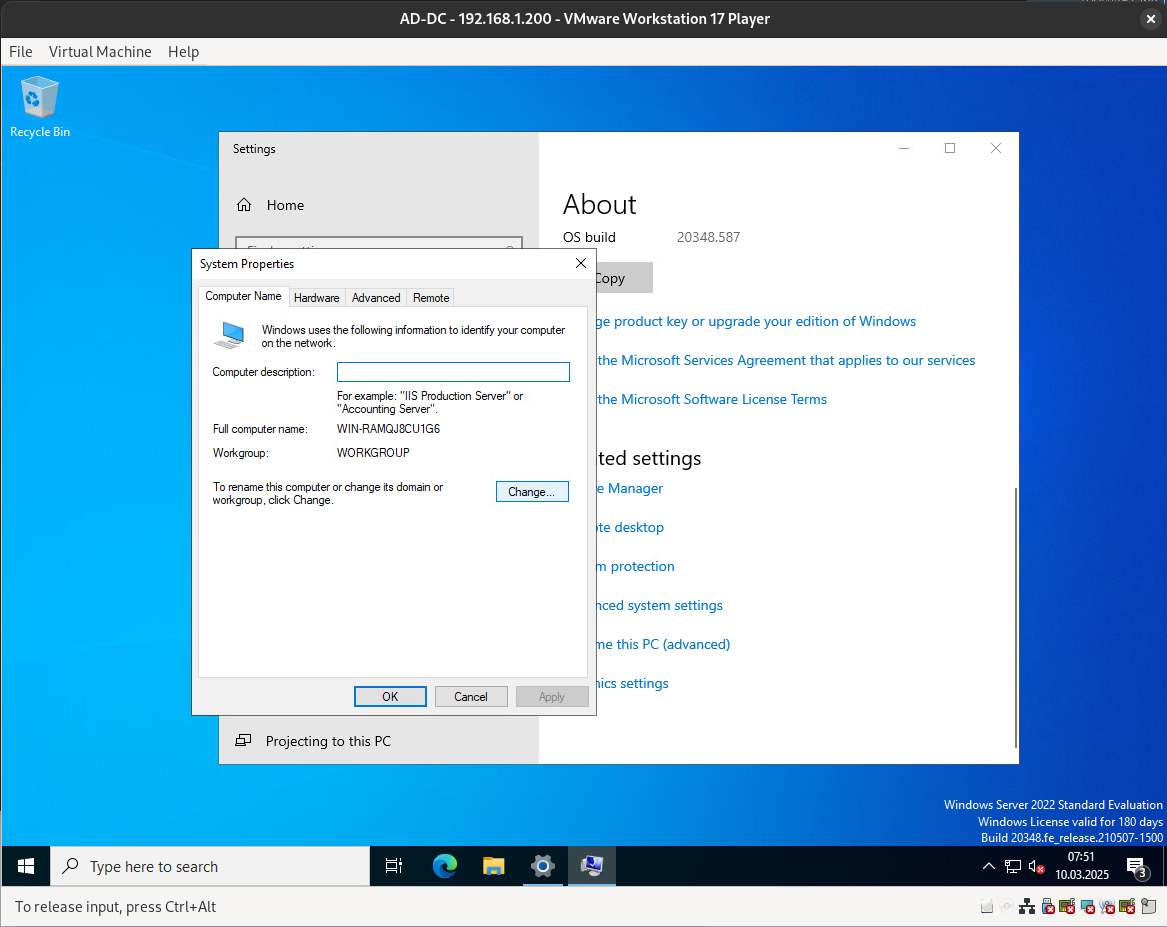
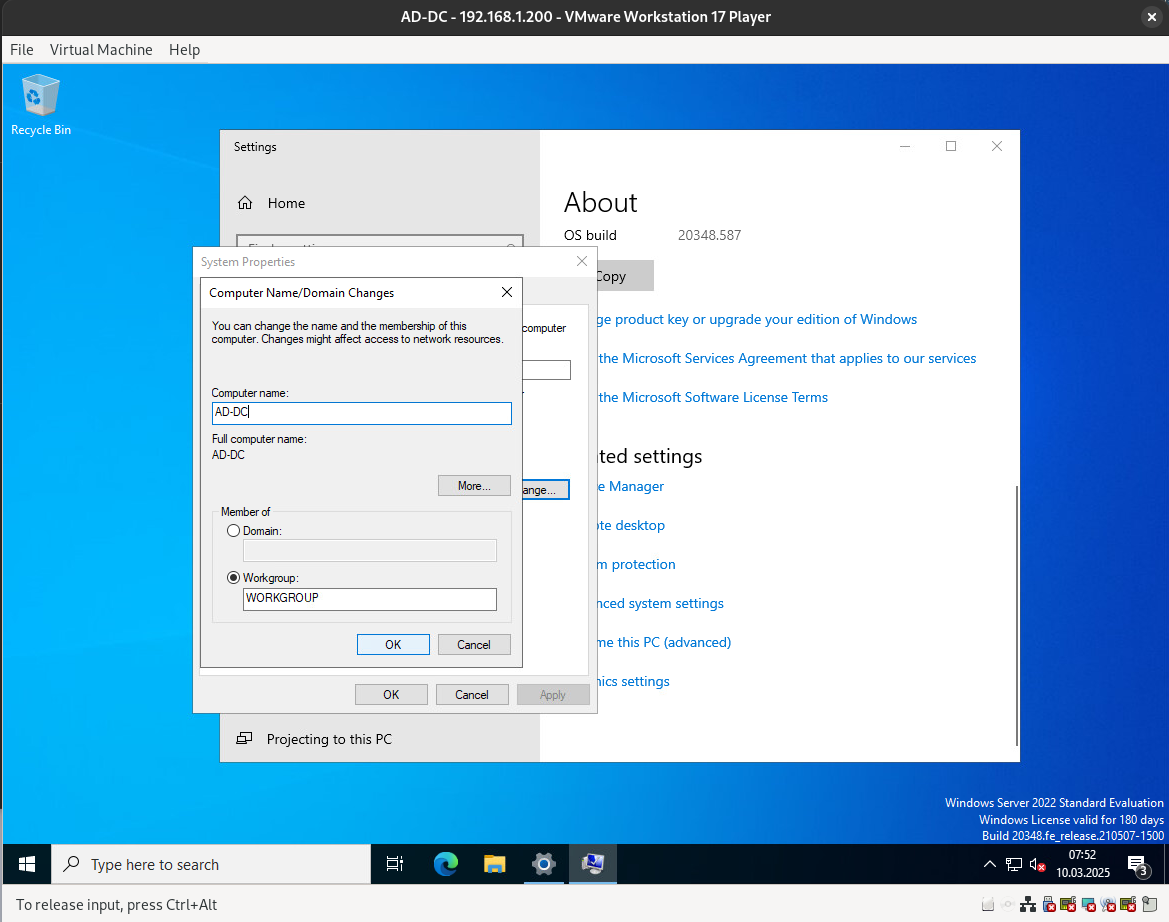
Hostname Configuration
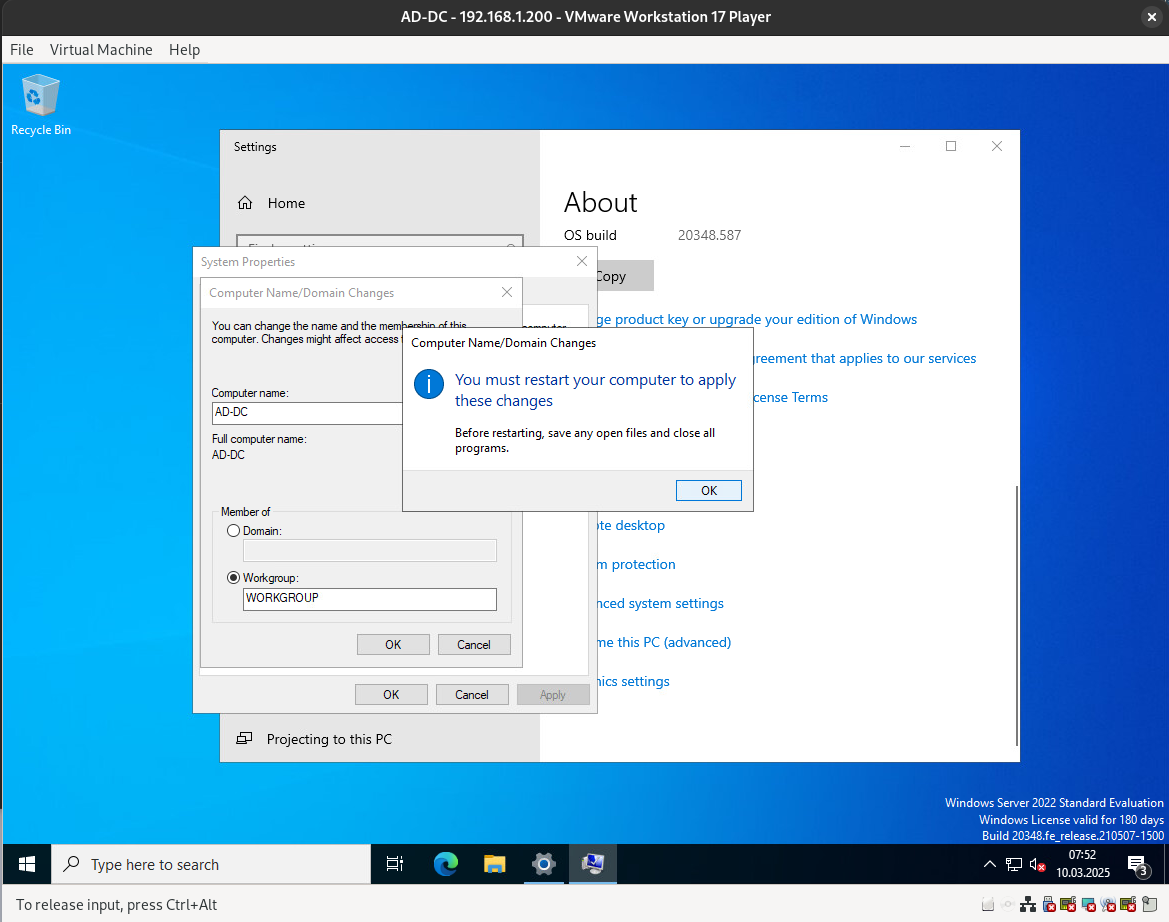
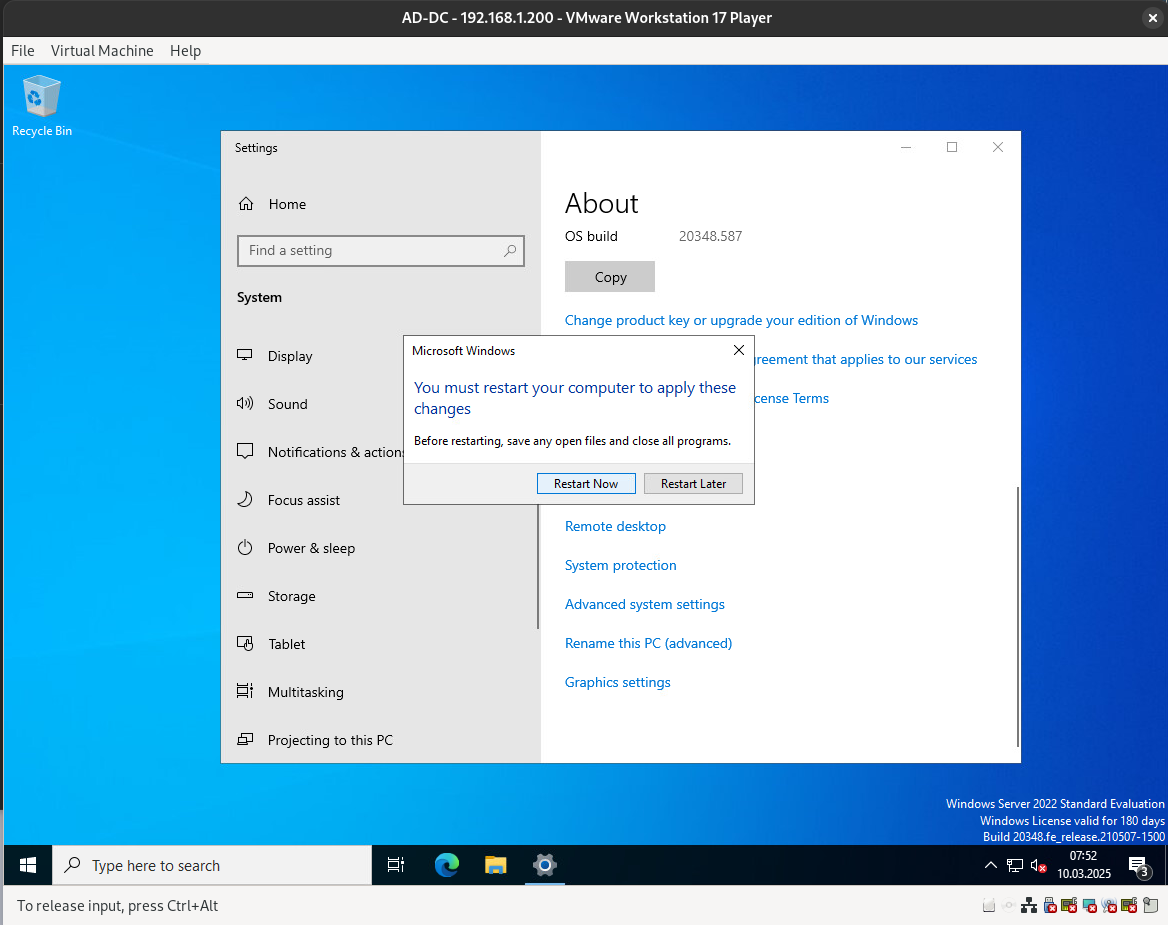
Next, we need to assign a hostname. Please note that this process will require a restart.


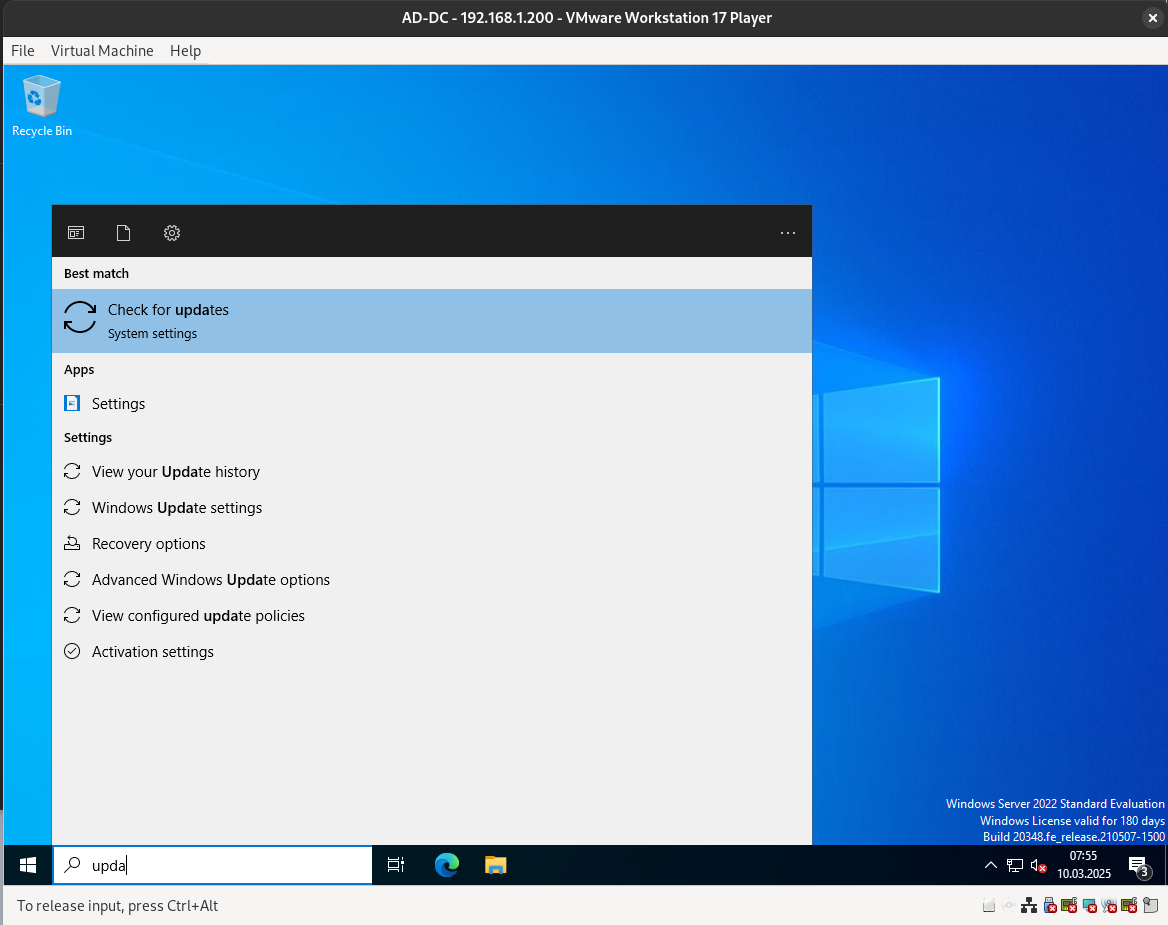
Updates
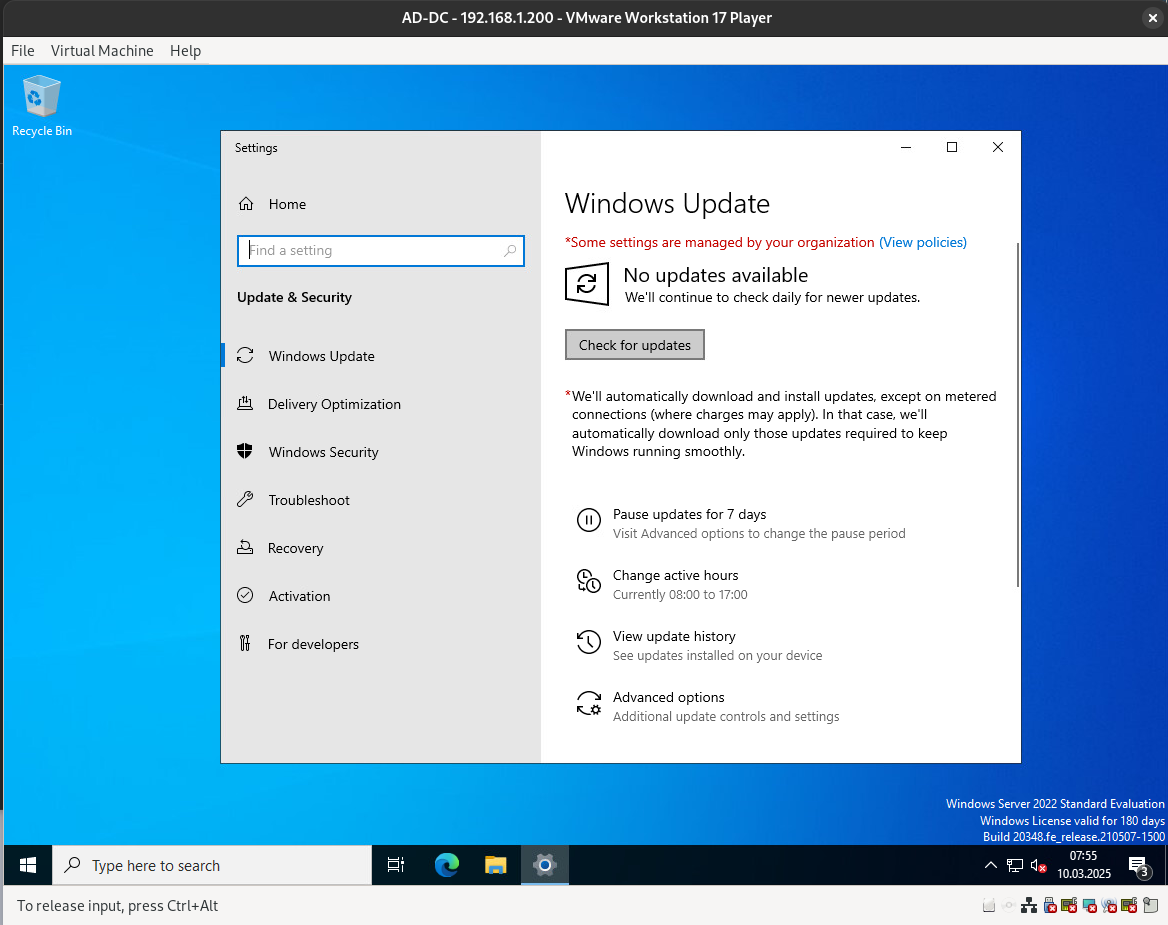
After rebooting, let’s check for updates.
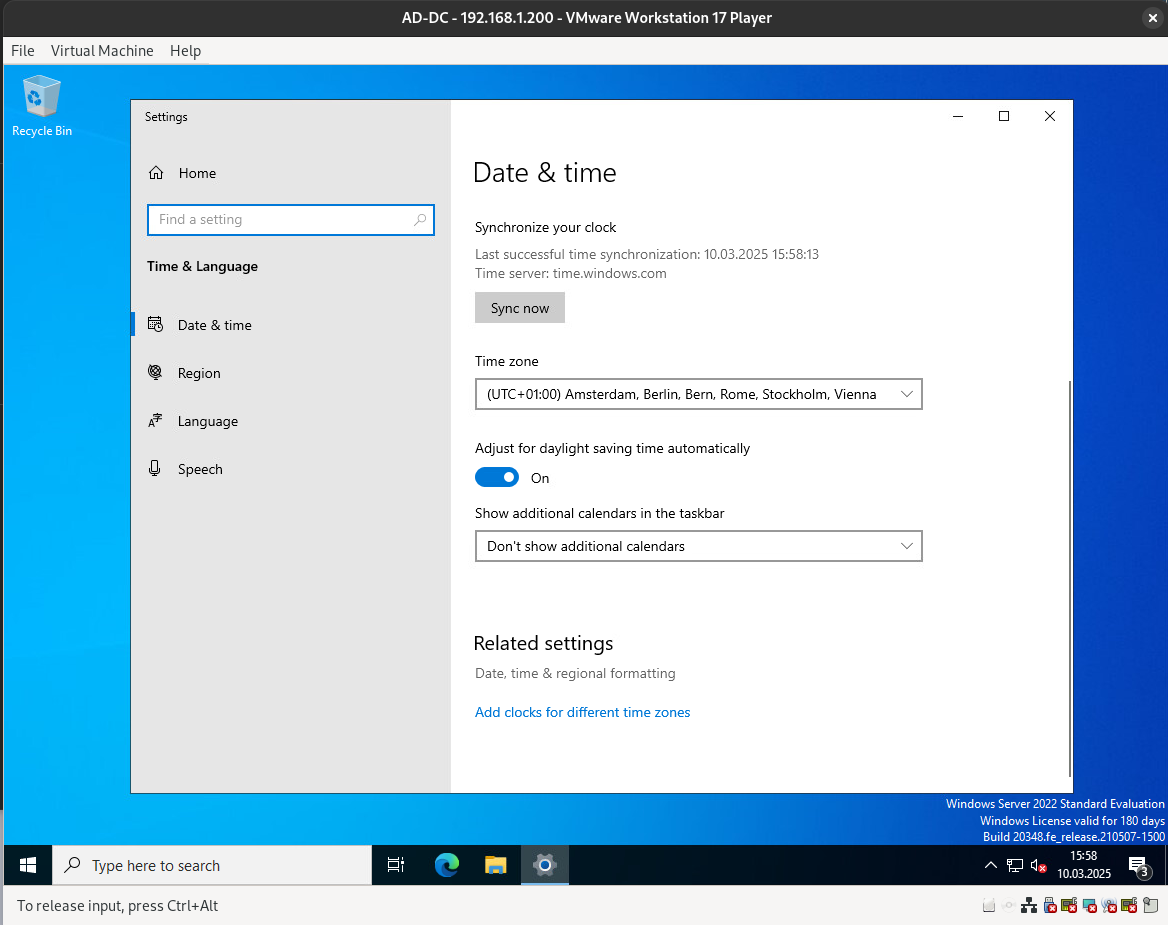
Time & Date Configuration
While updating, let’s configure the time and date.
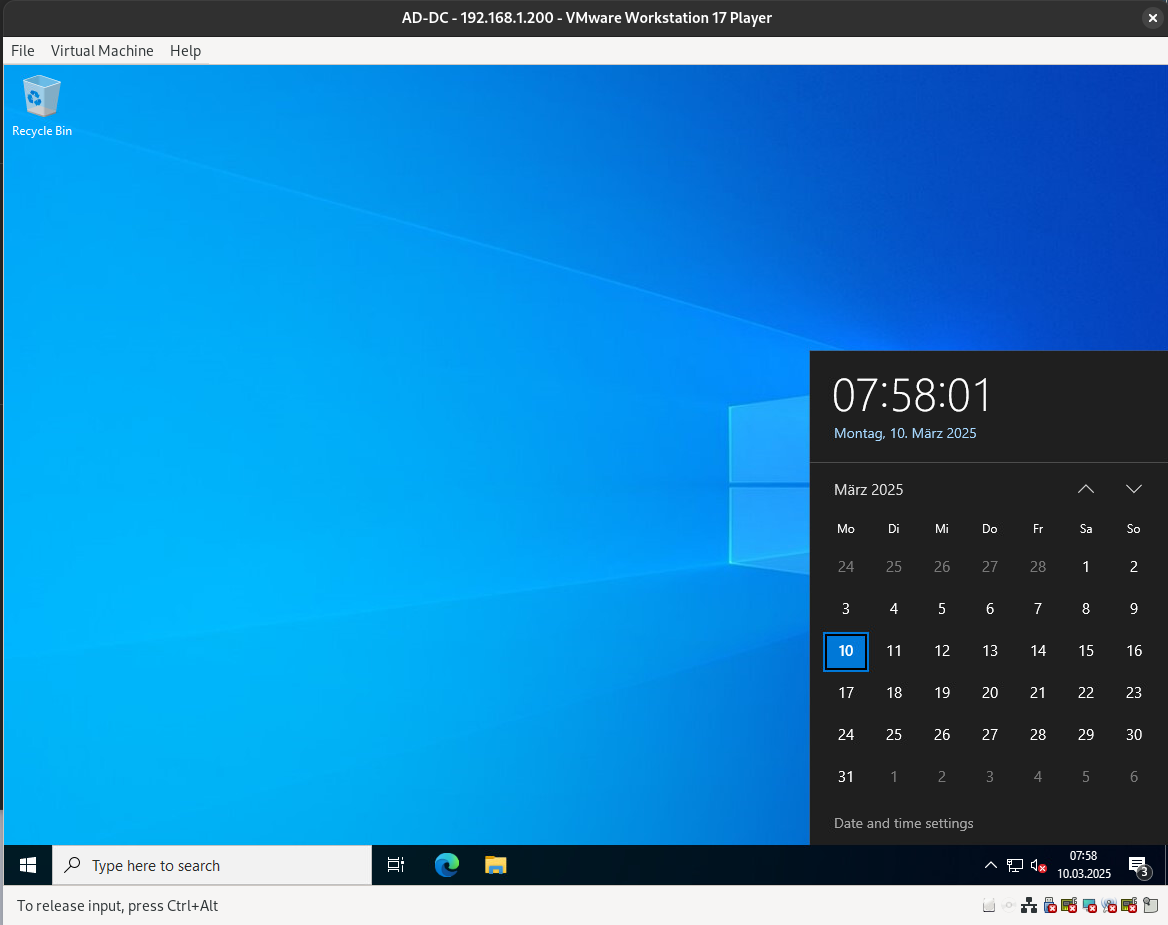

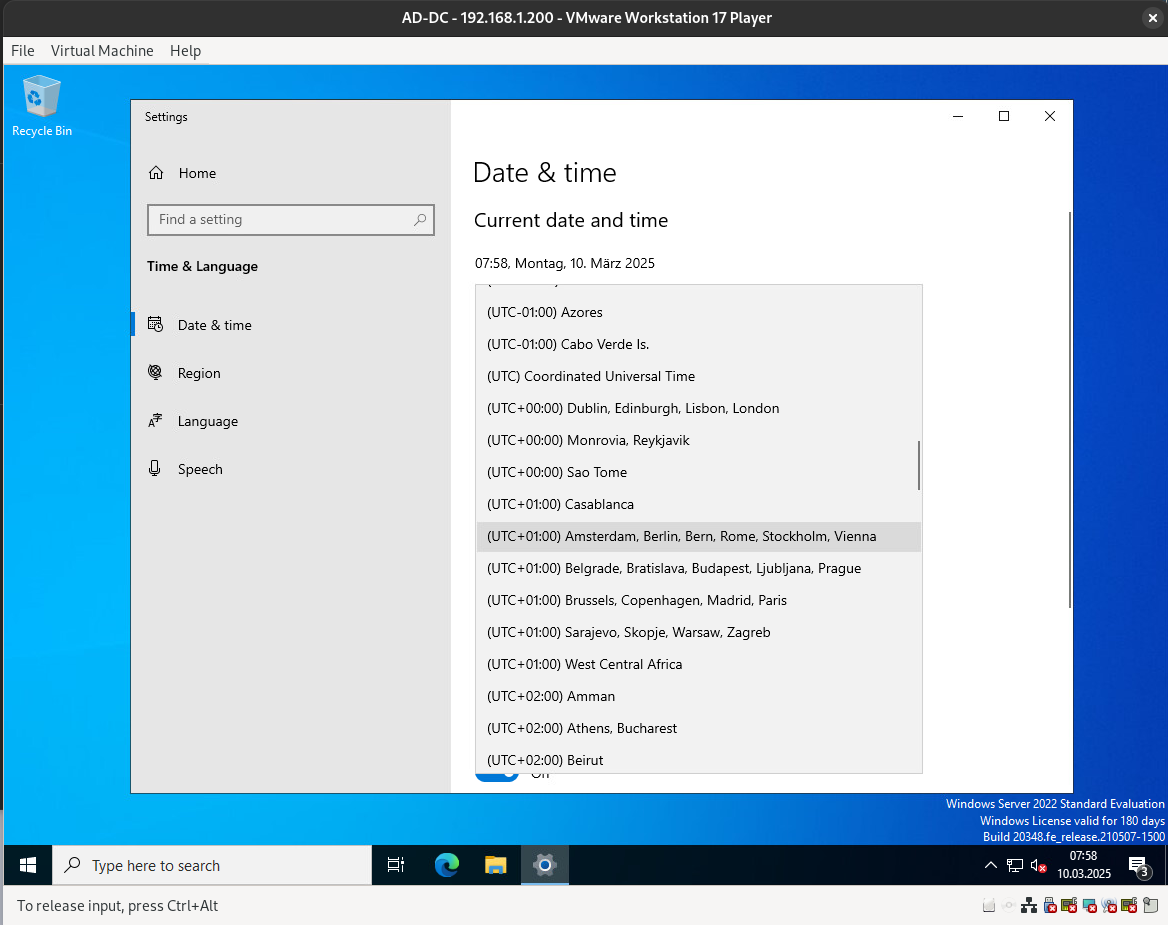
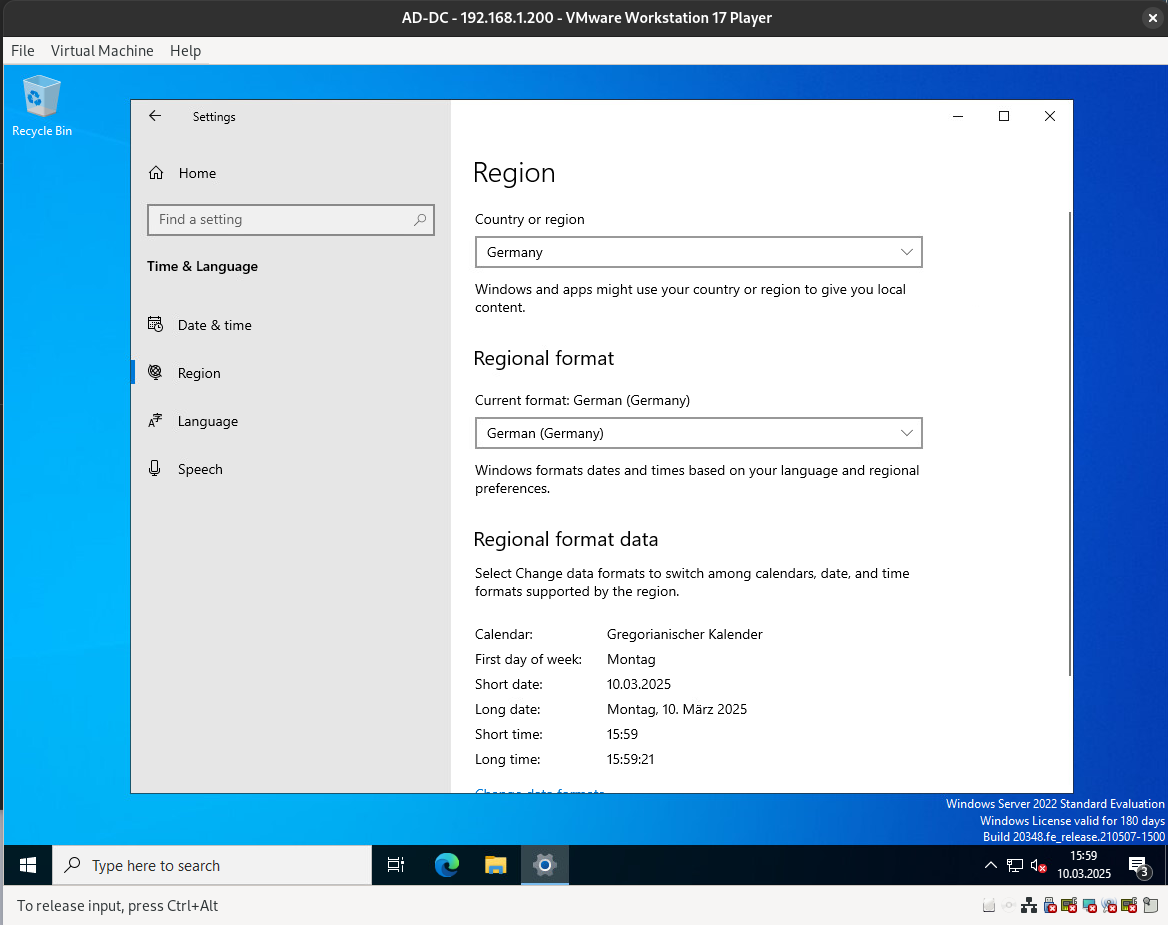
You can also configure the date, time, time zone, and regional formatting here.
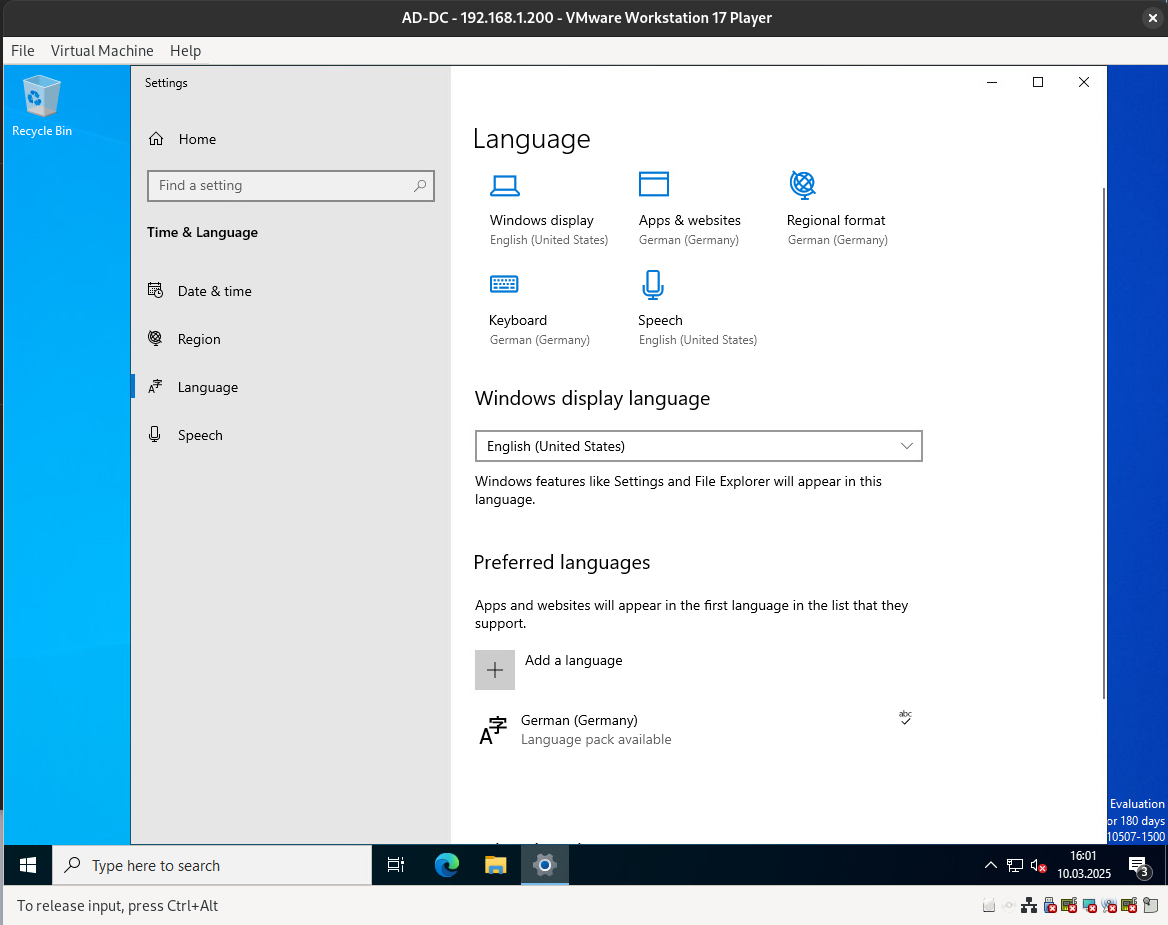
In case you need to add a language or keyboard layout, you can do so here.
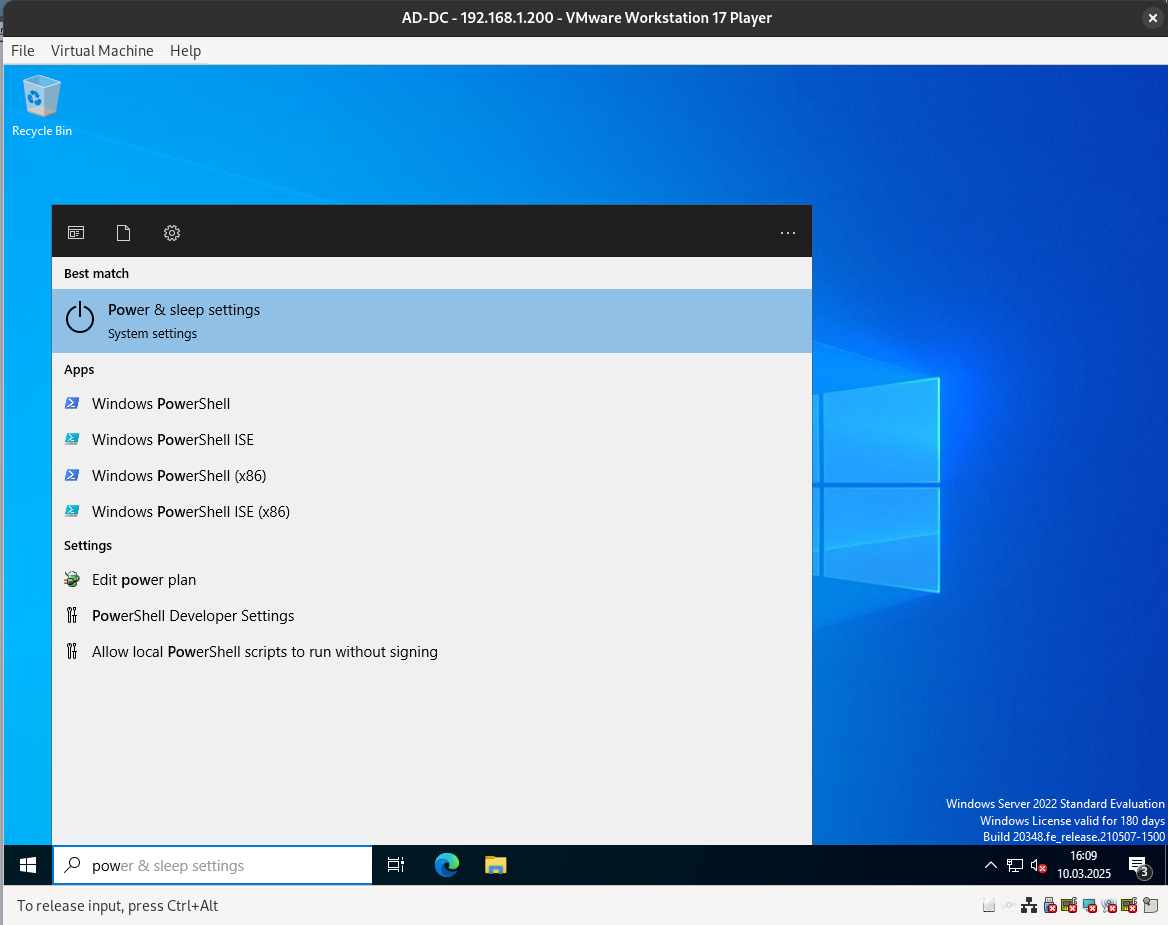
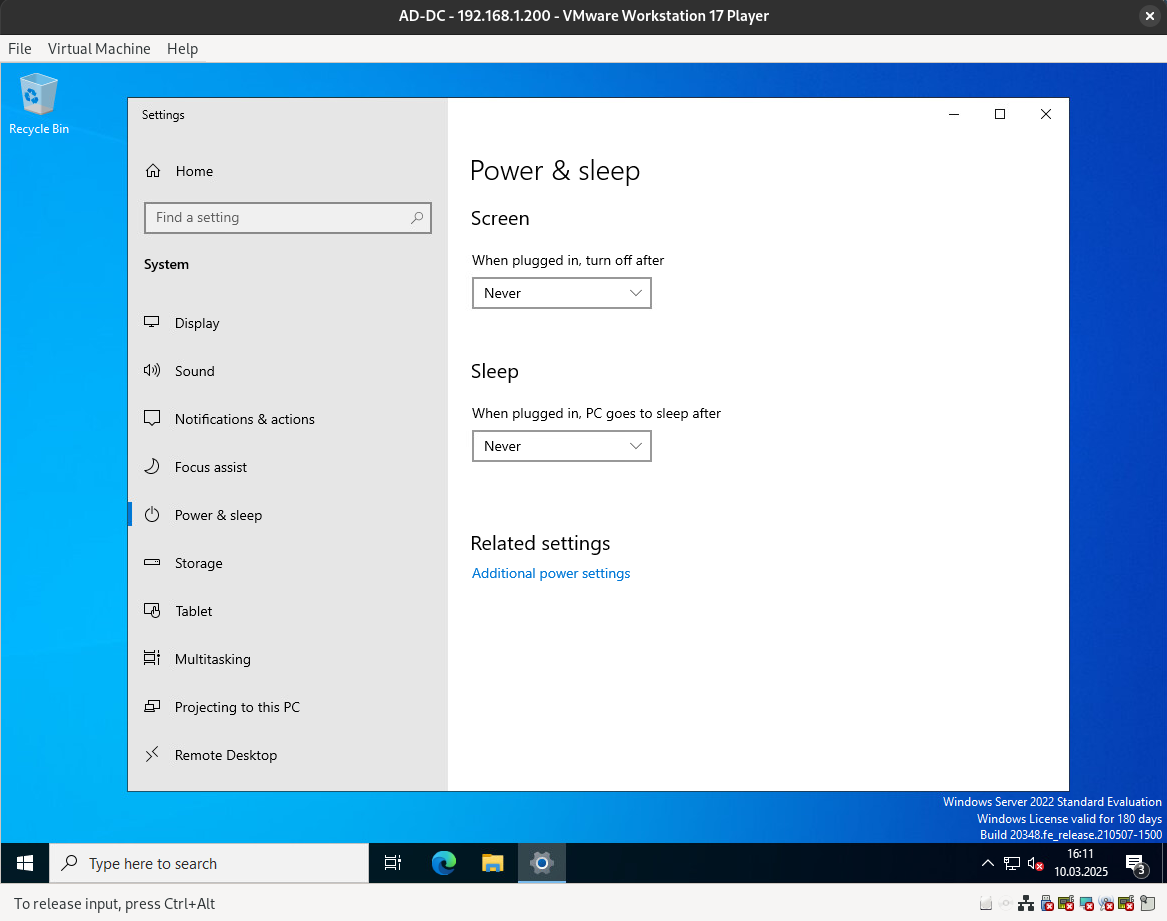
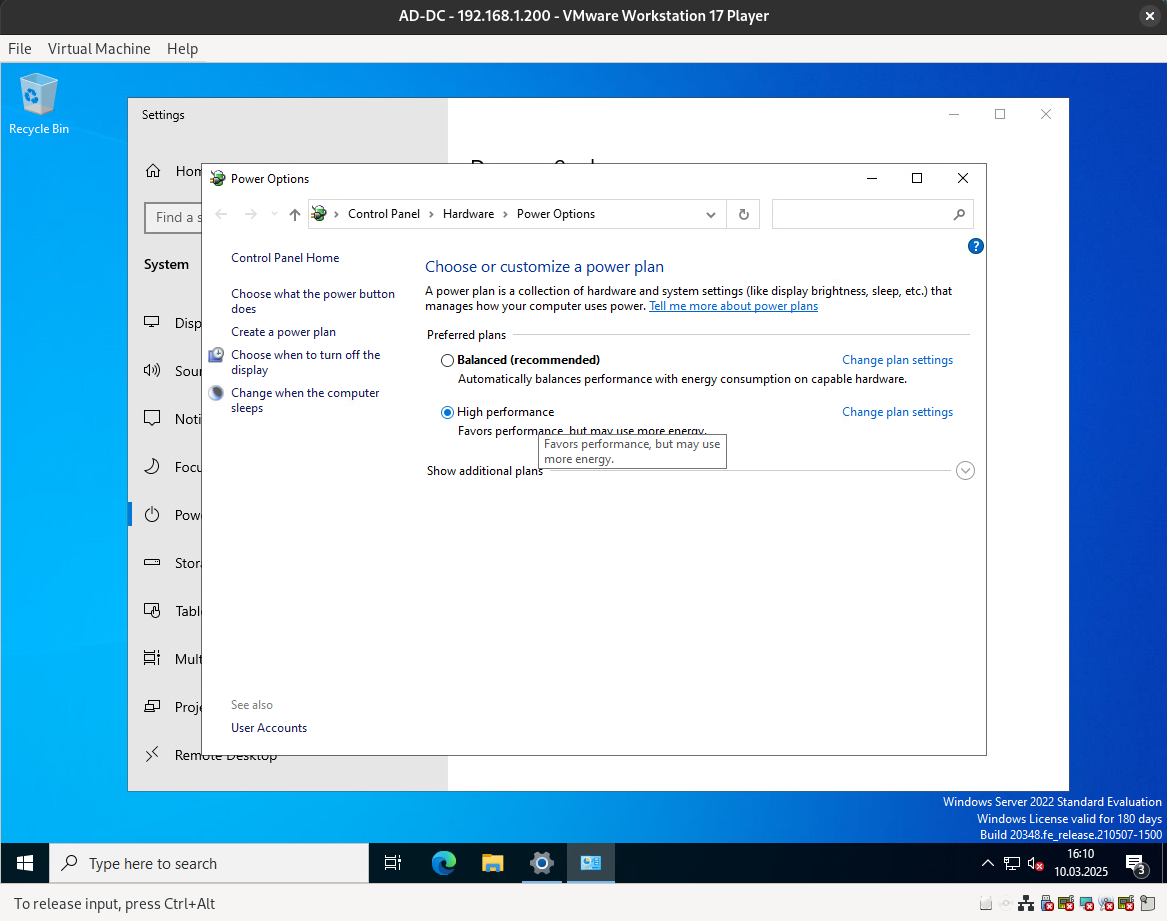
Configure the power and sleep settings.
It is good practice to reboot the system after making certain configuration changes.
By default, the firewall is turned on, which is good. However, since we are in a lab environment, I want to turn it off for specific reasons.
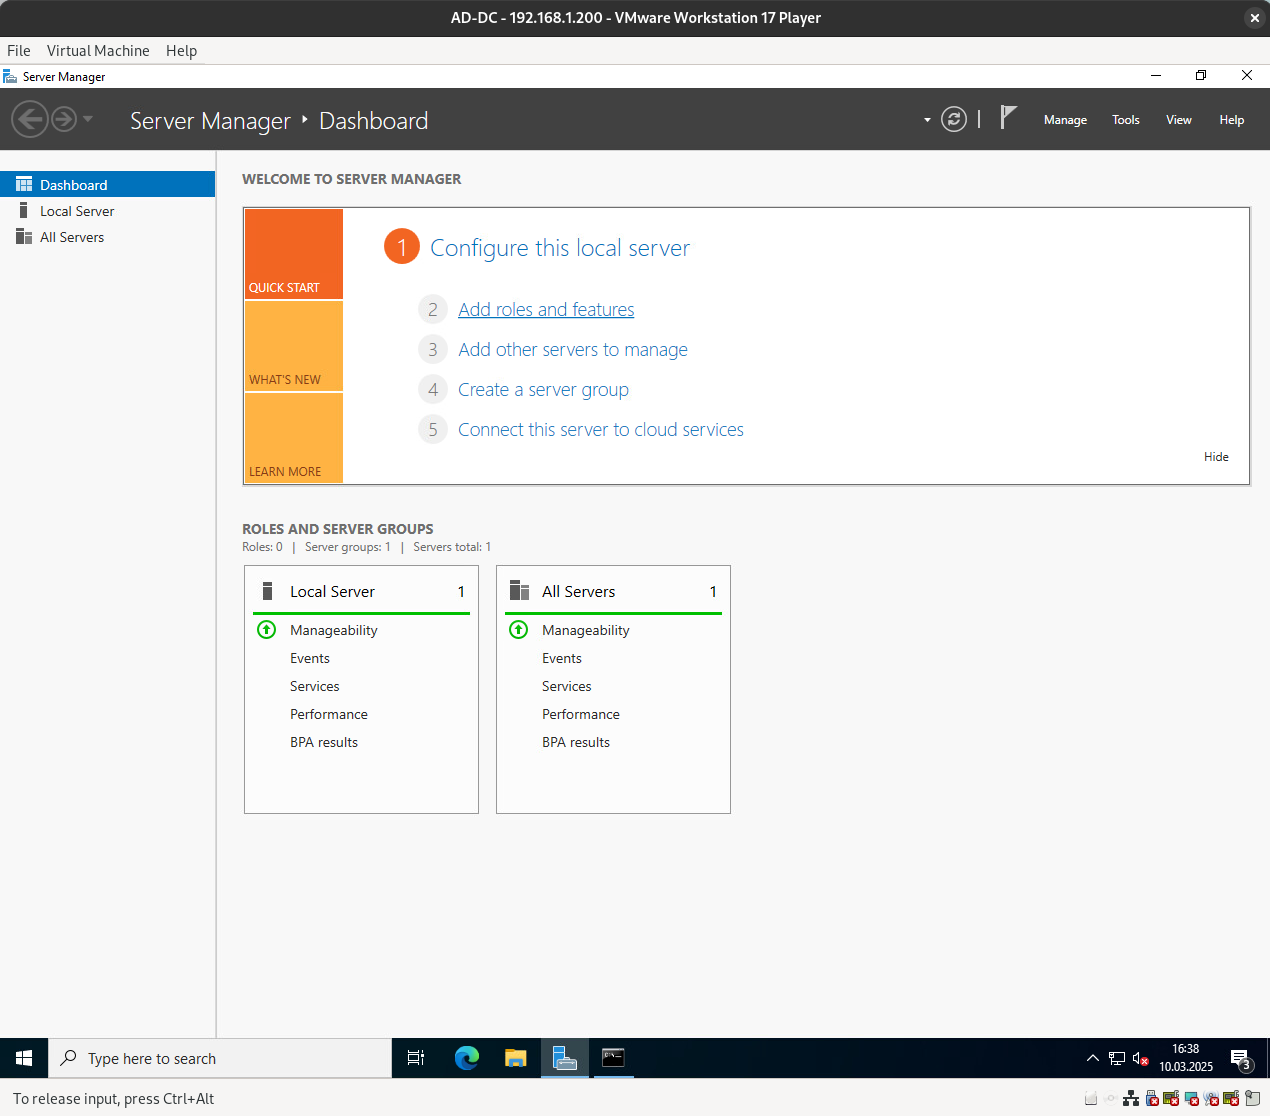
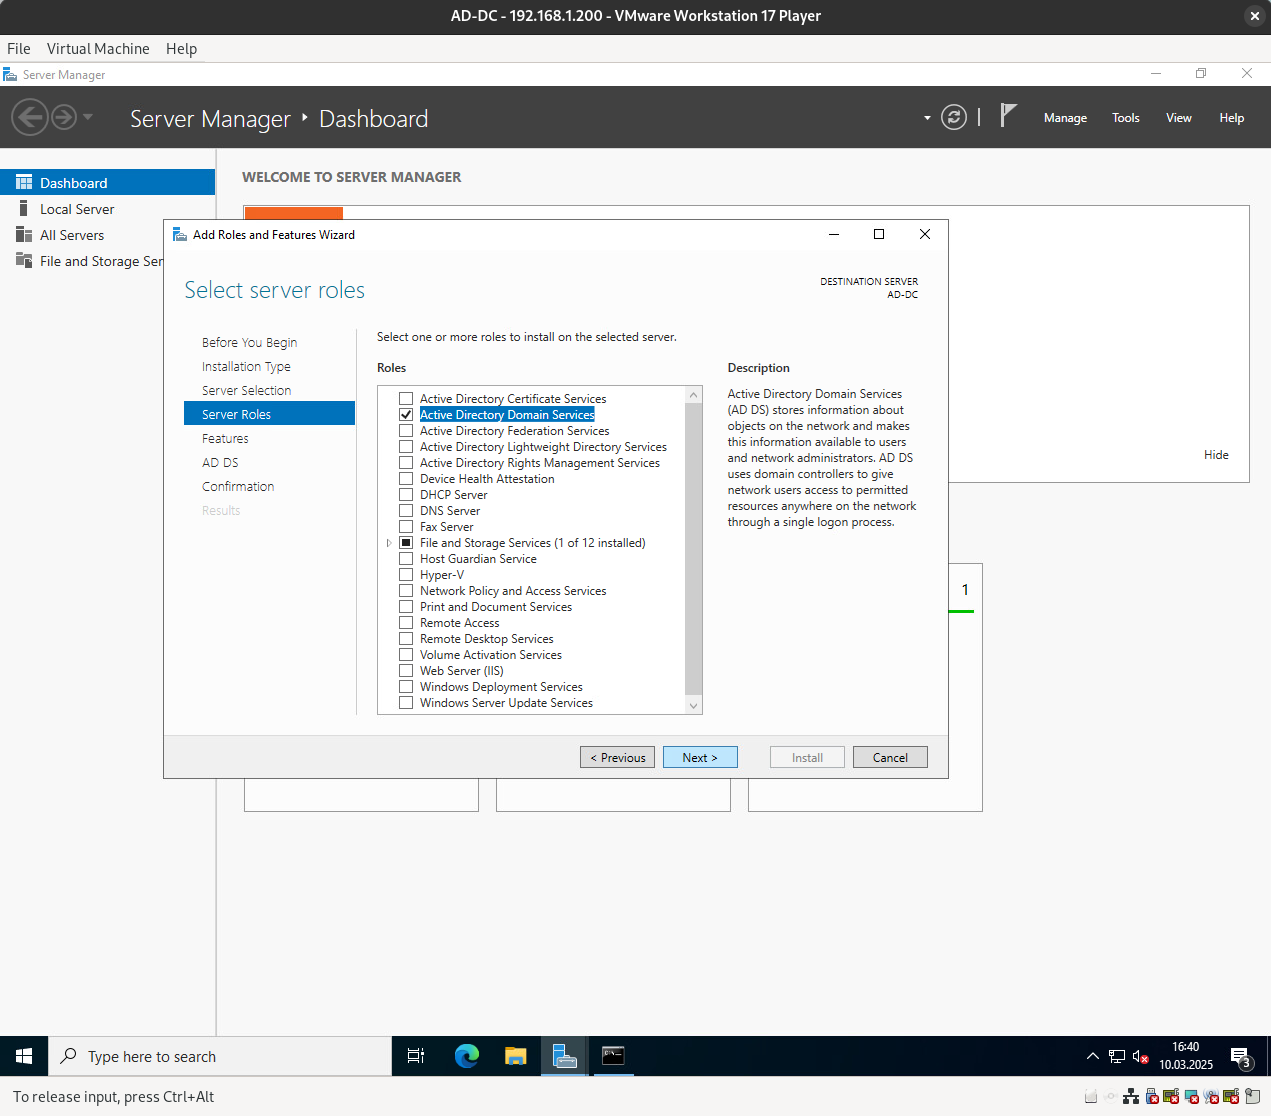
AD-DC Role Installation
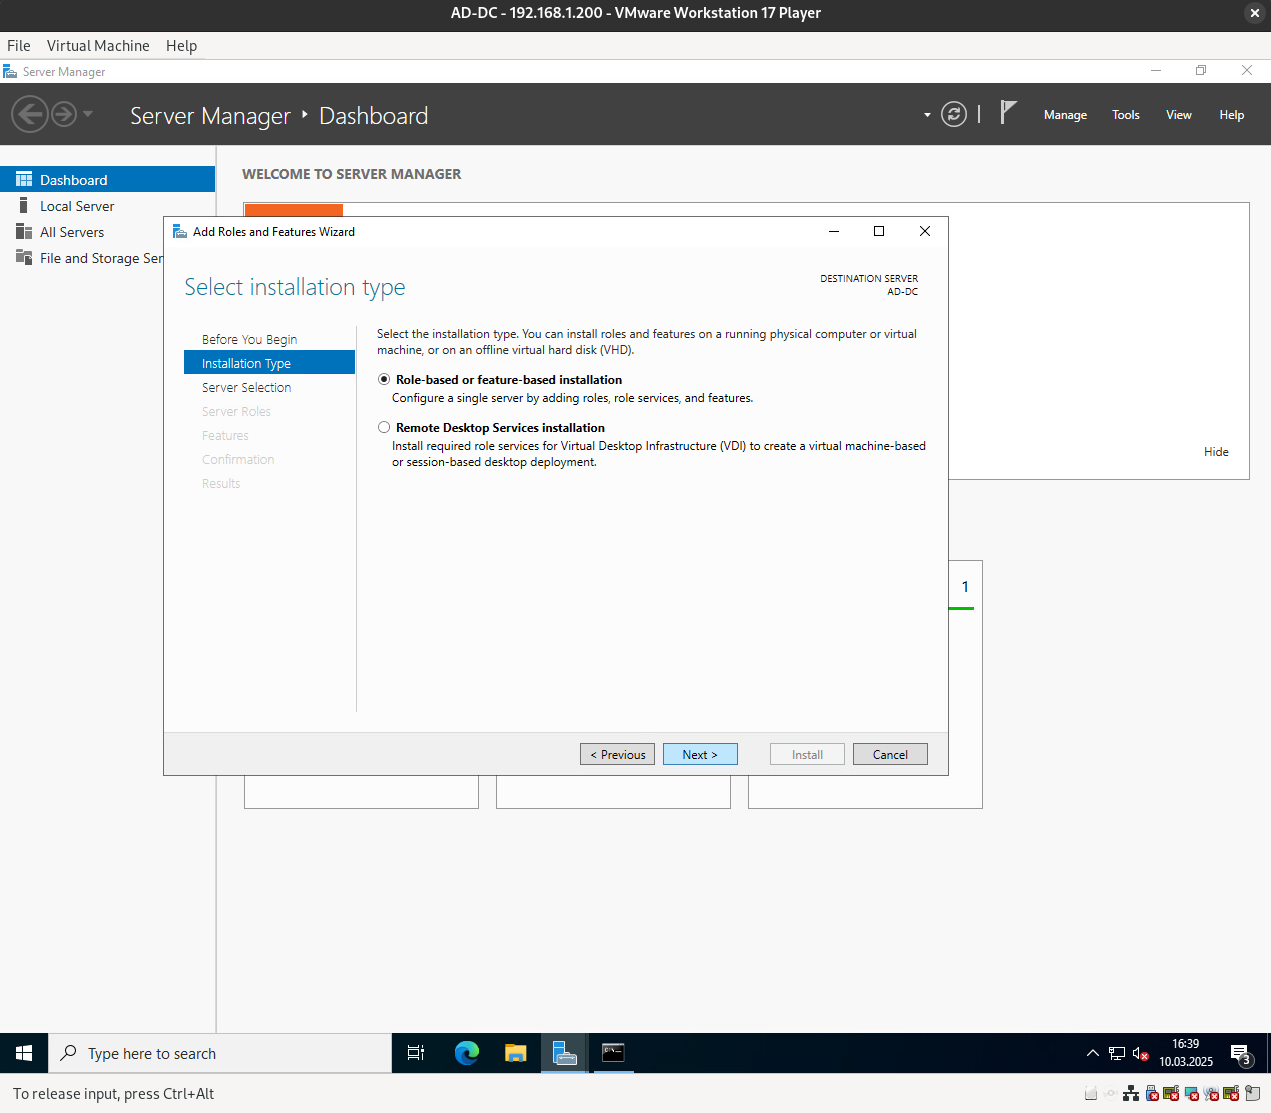
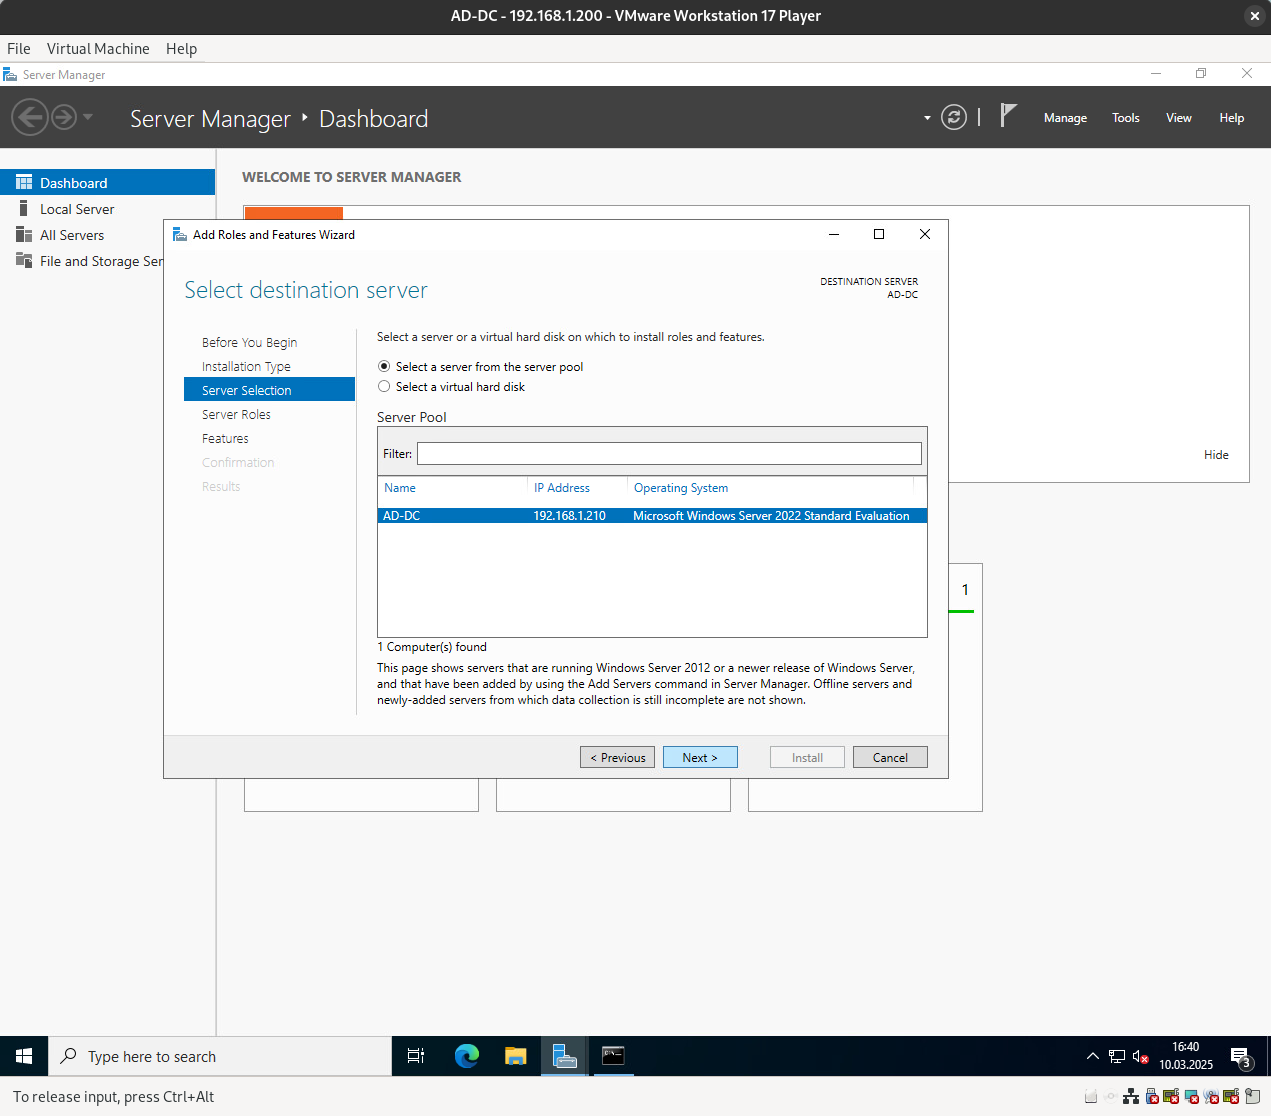
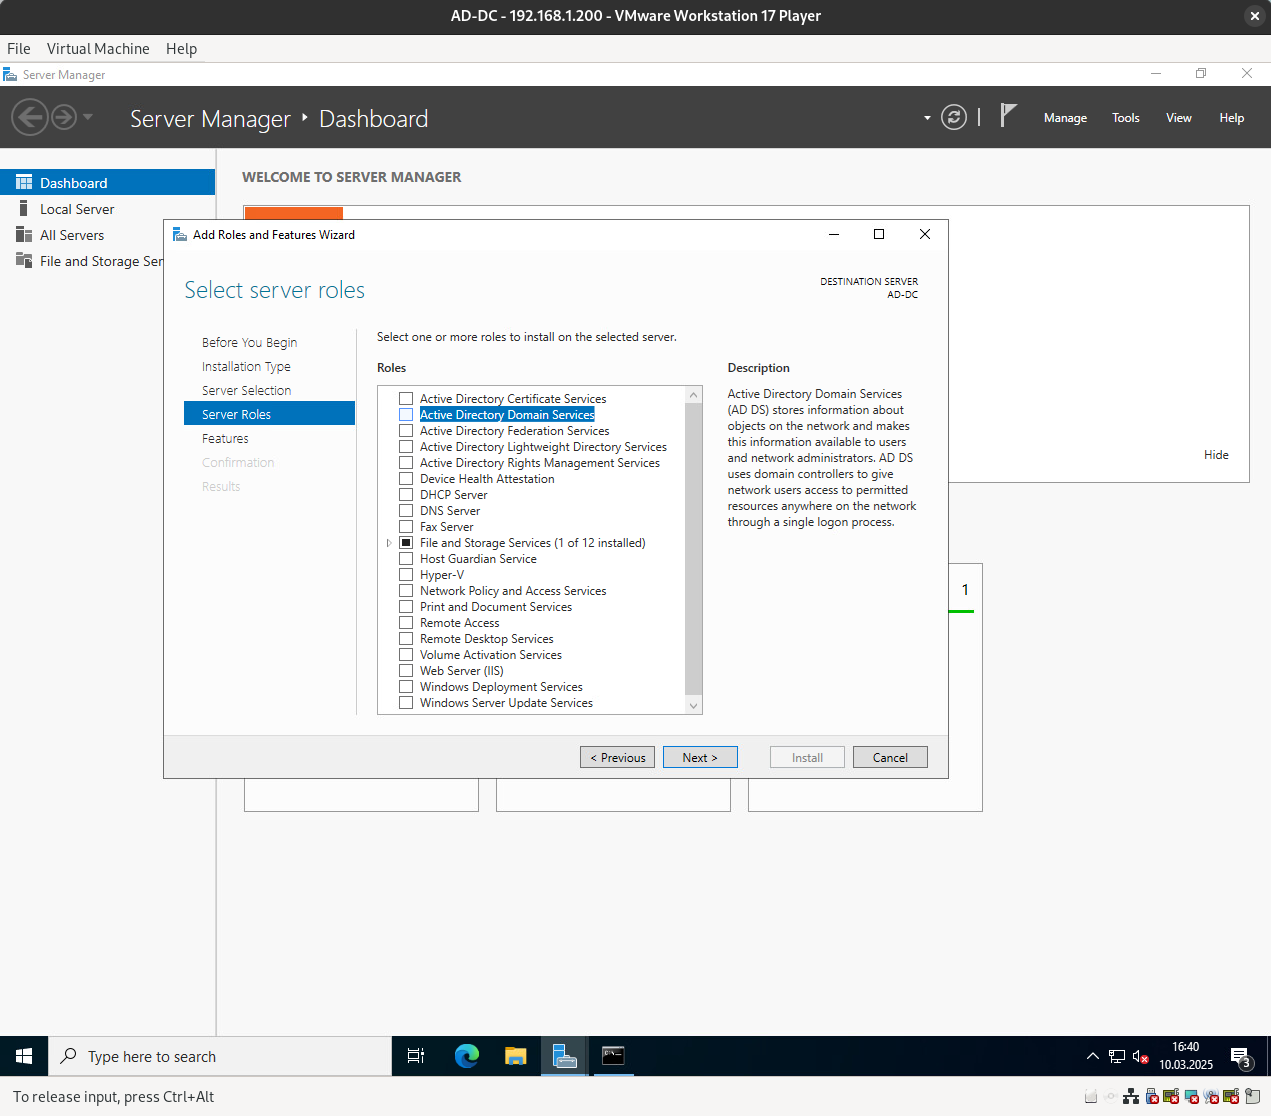
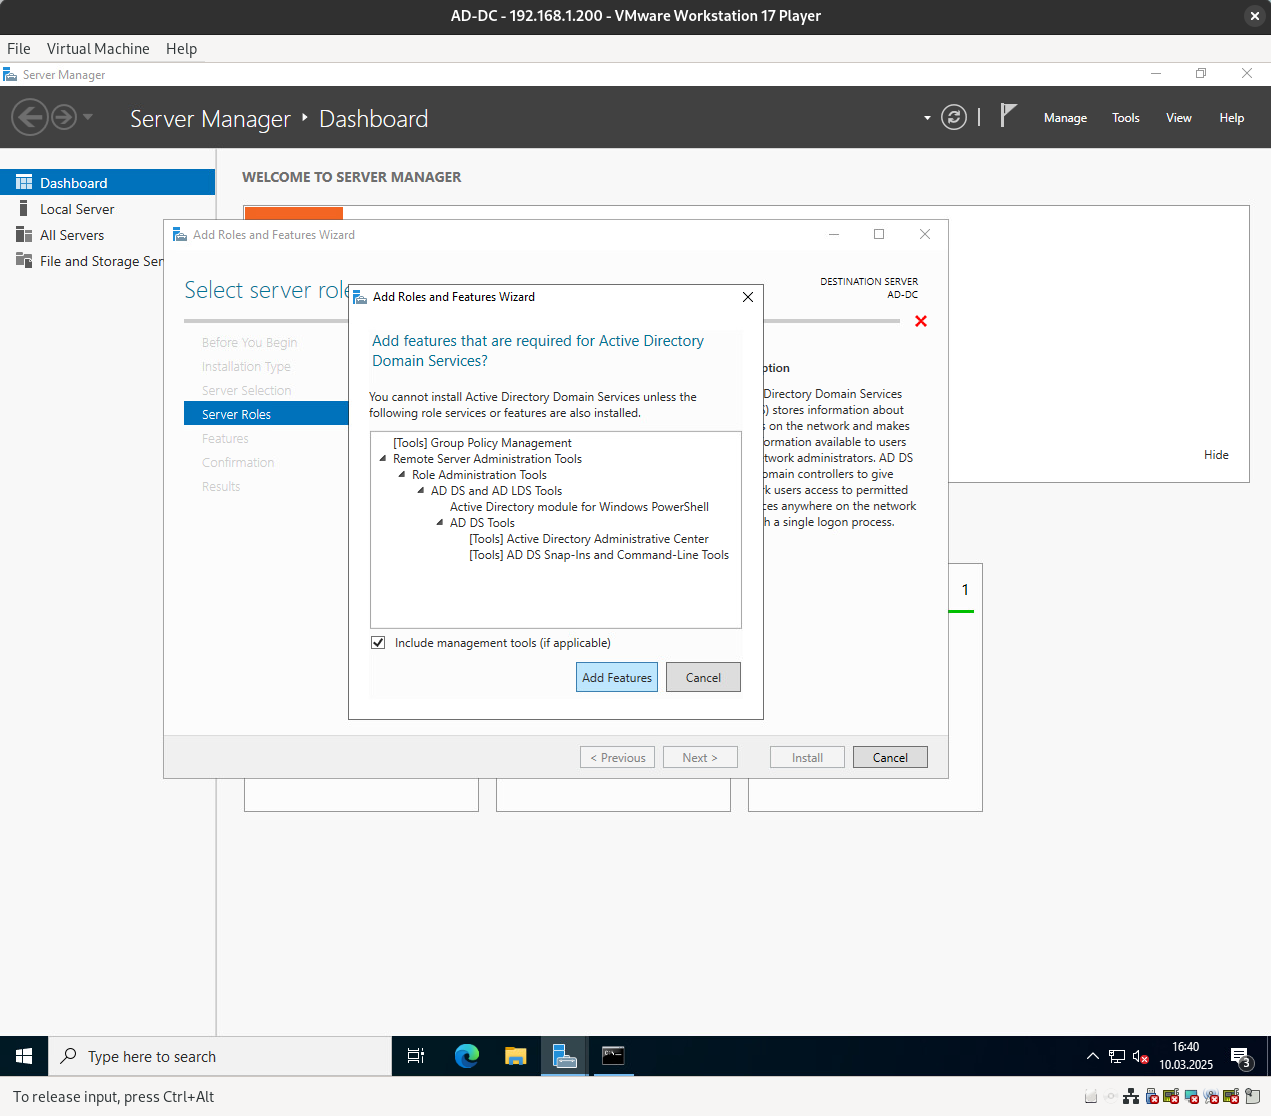
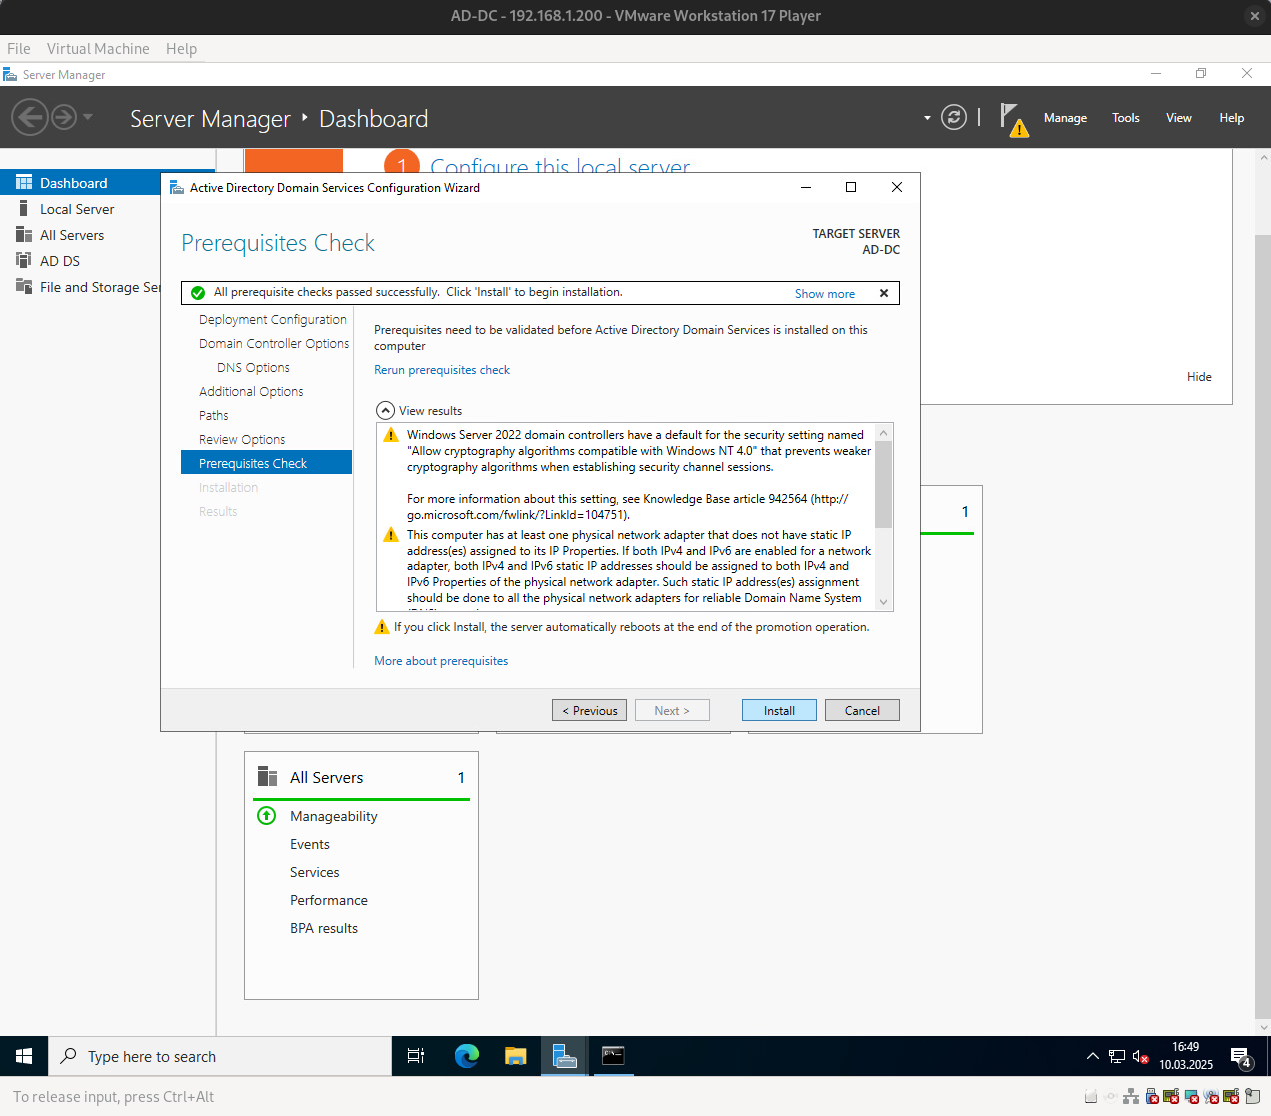
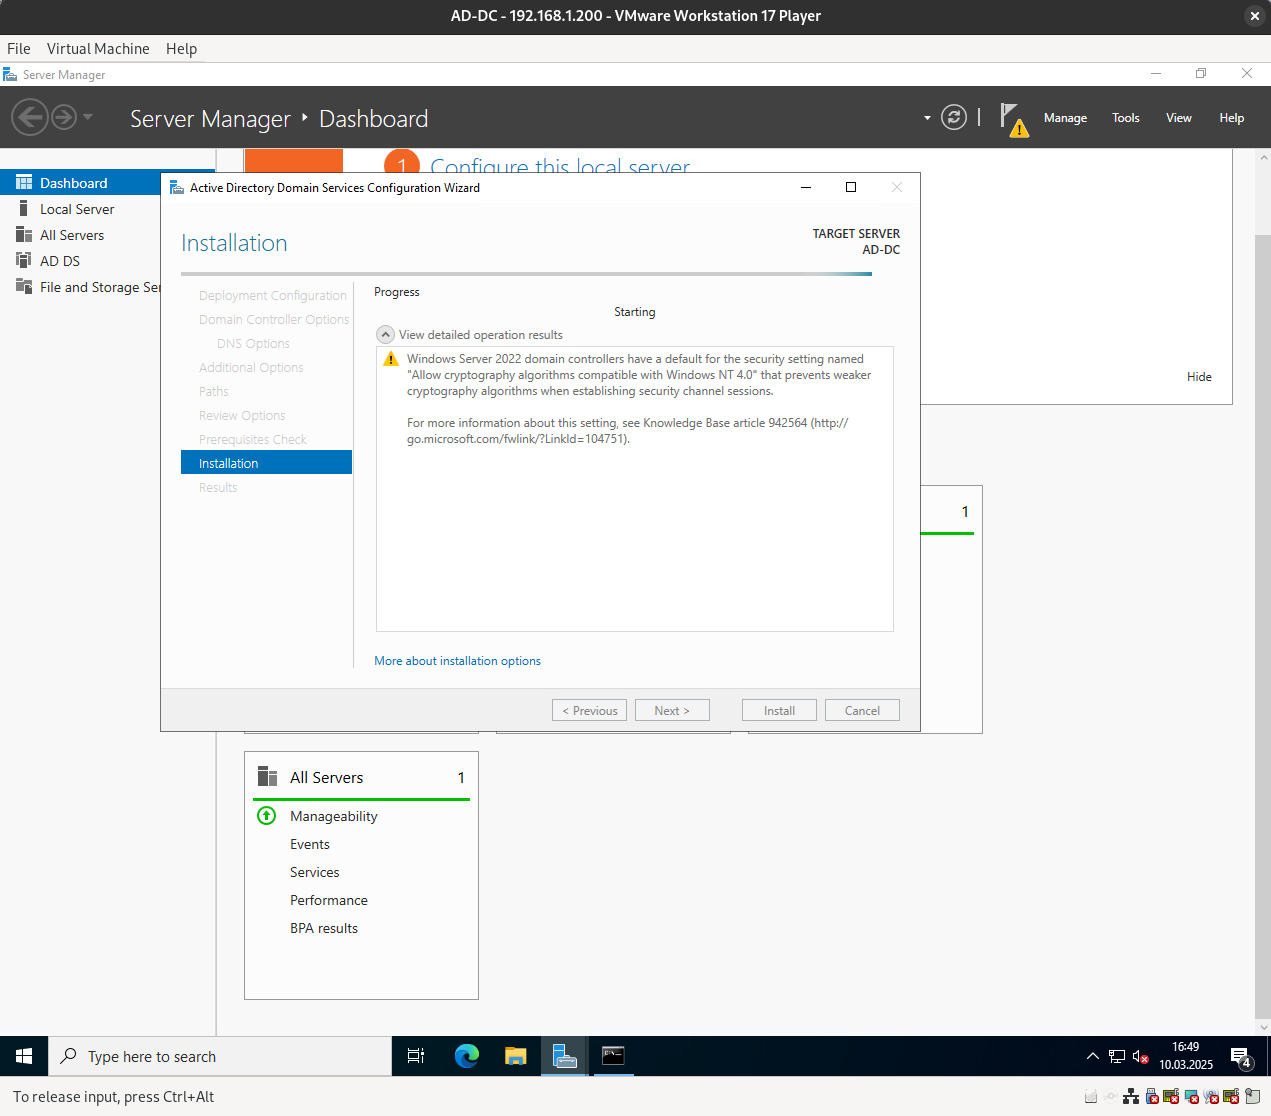
Now, let’s proceed with installing the AD-DC role.
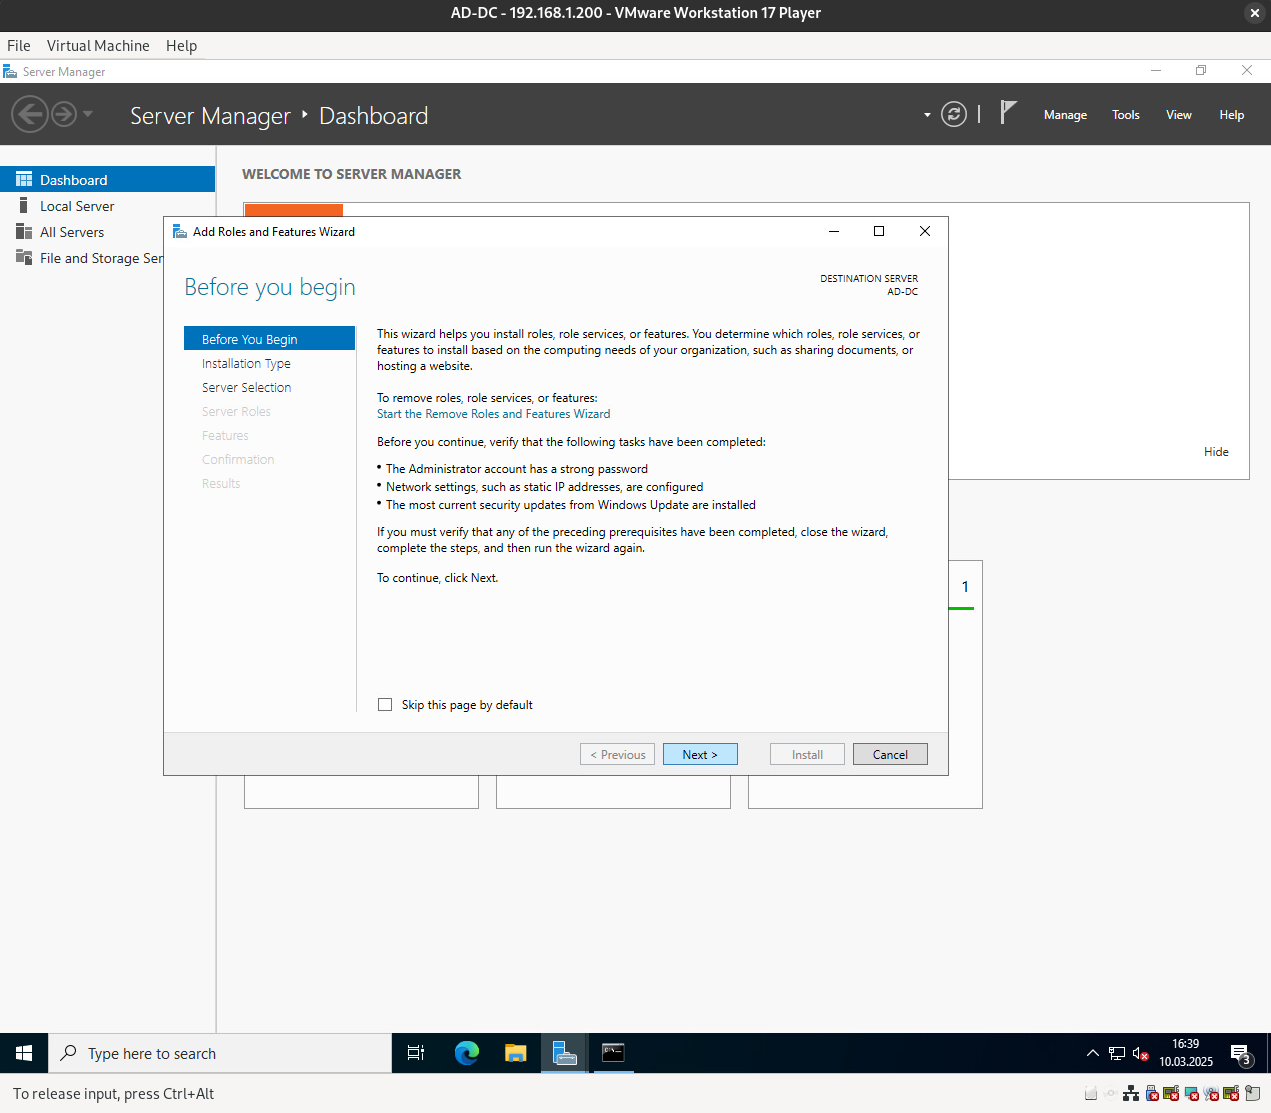

If you check the box starting with “Restart,” the server will automatically restart if required after the installation is complete.
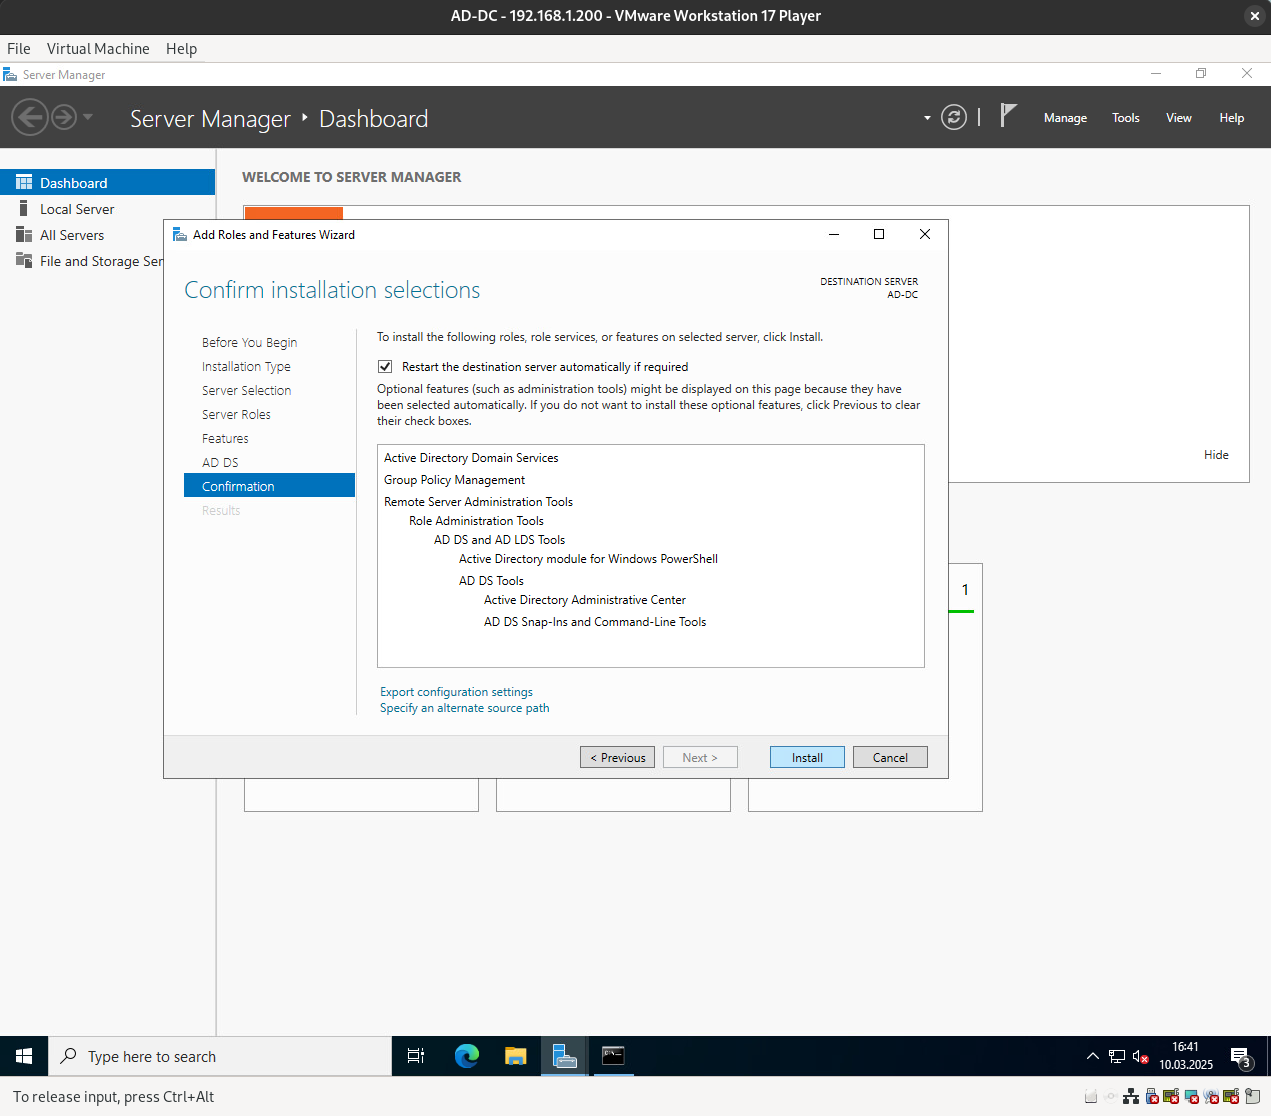
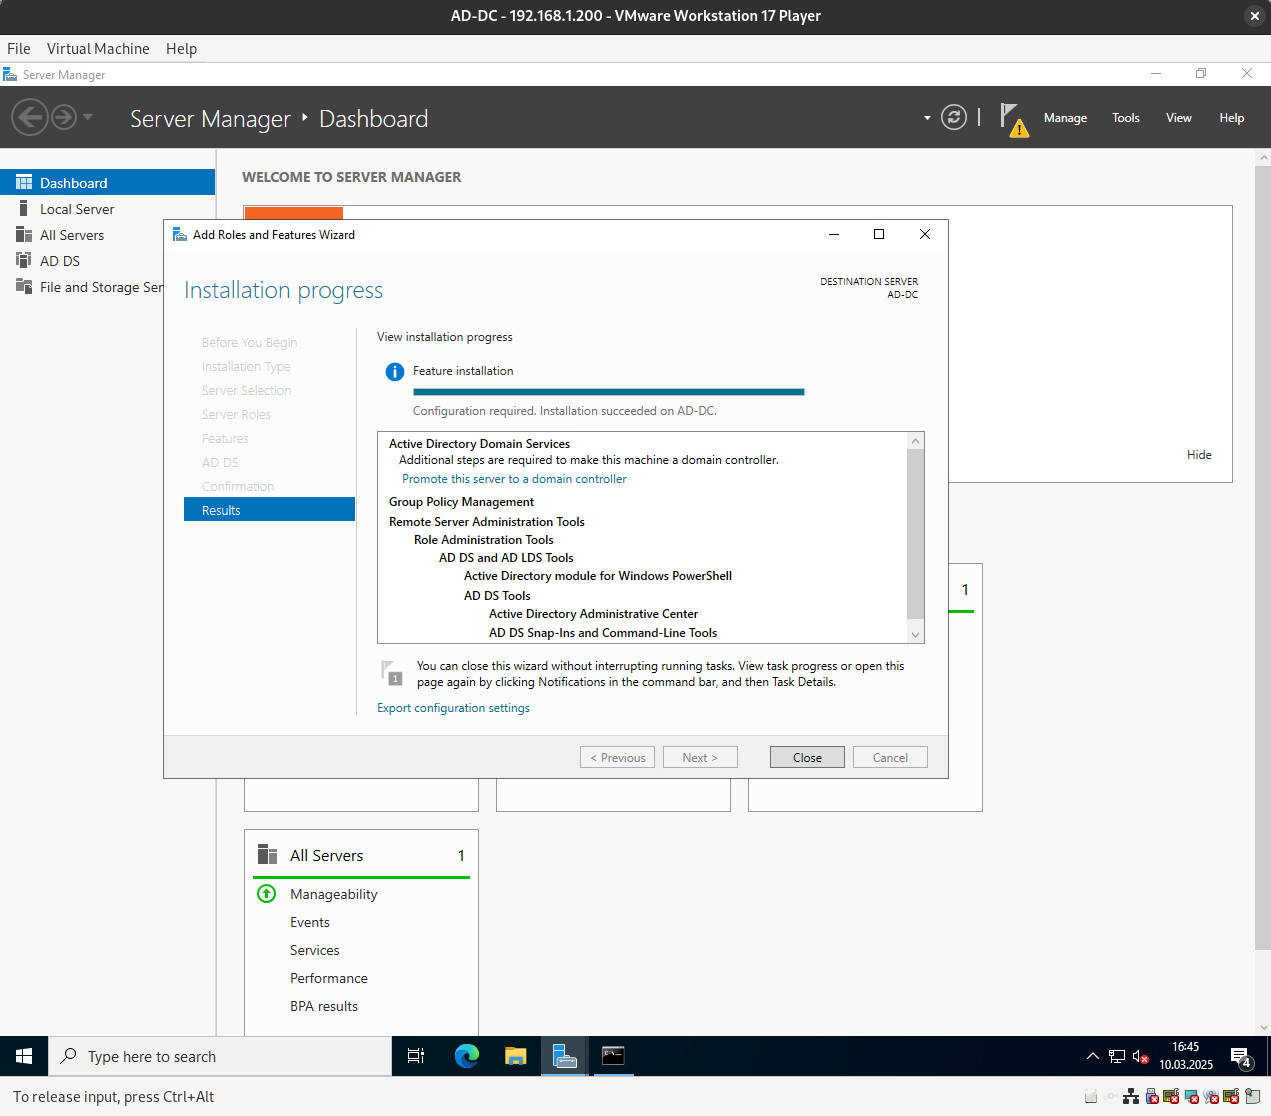
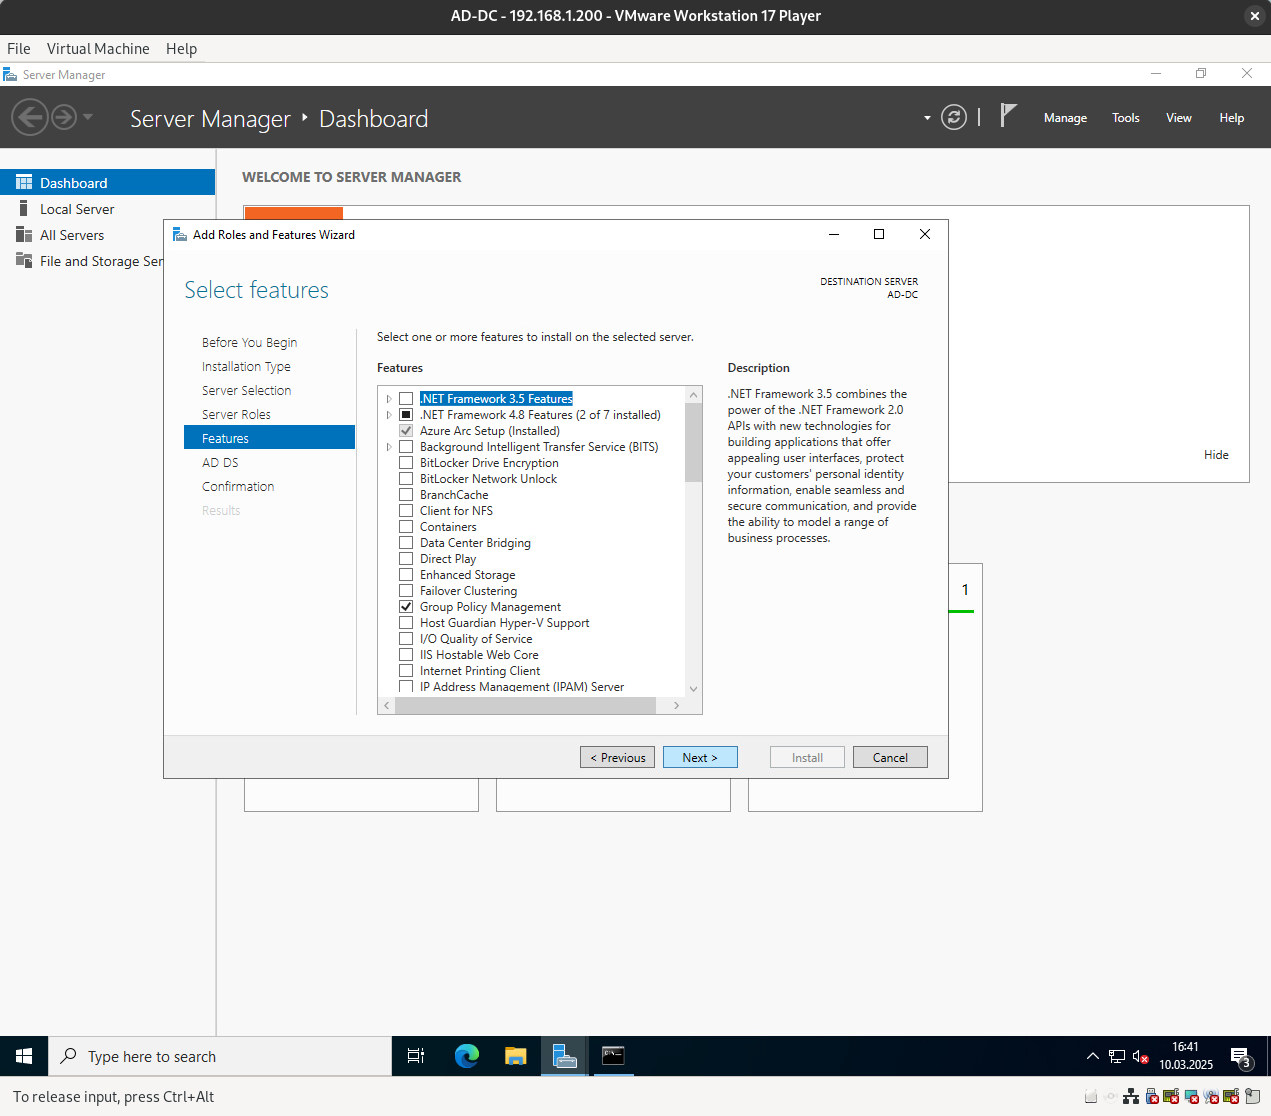
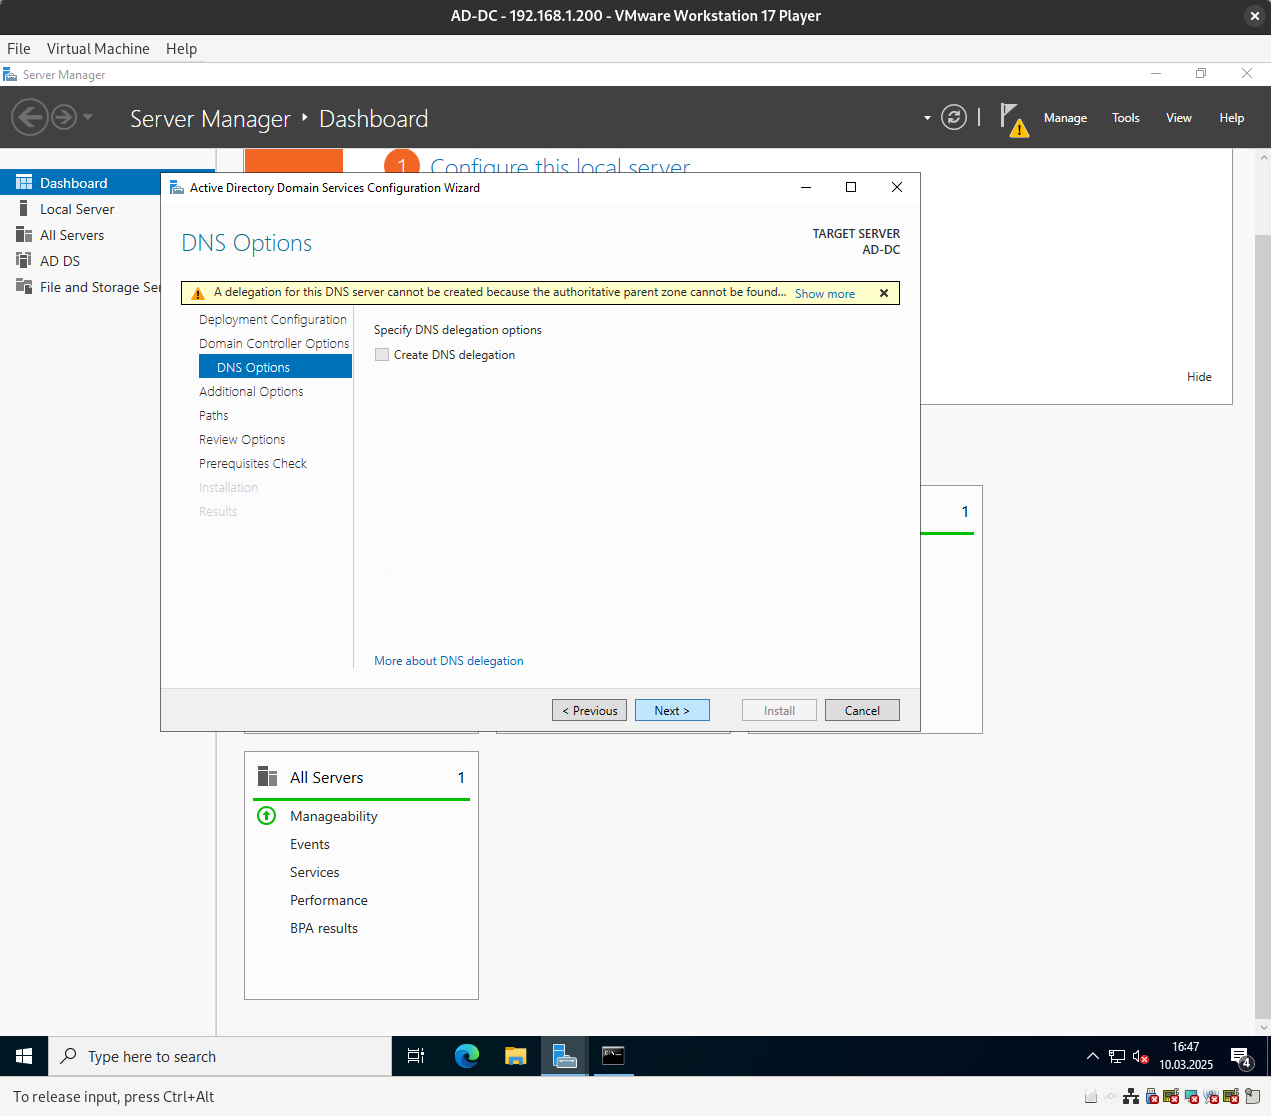
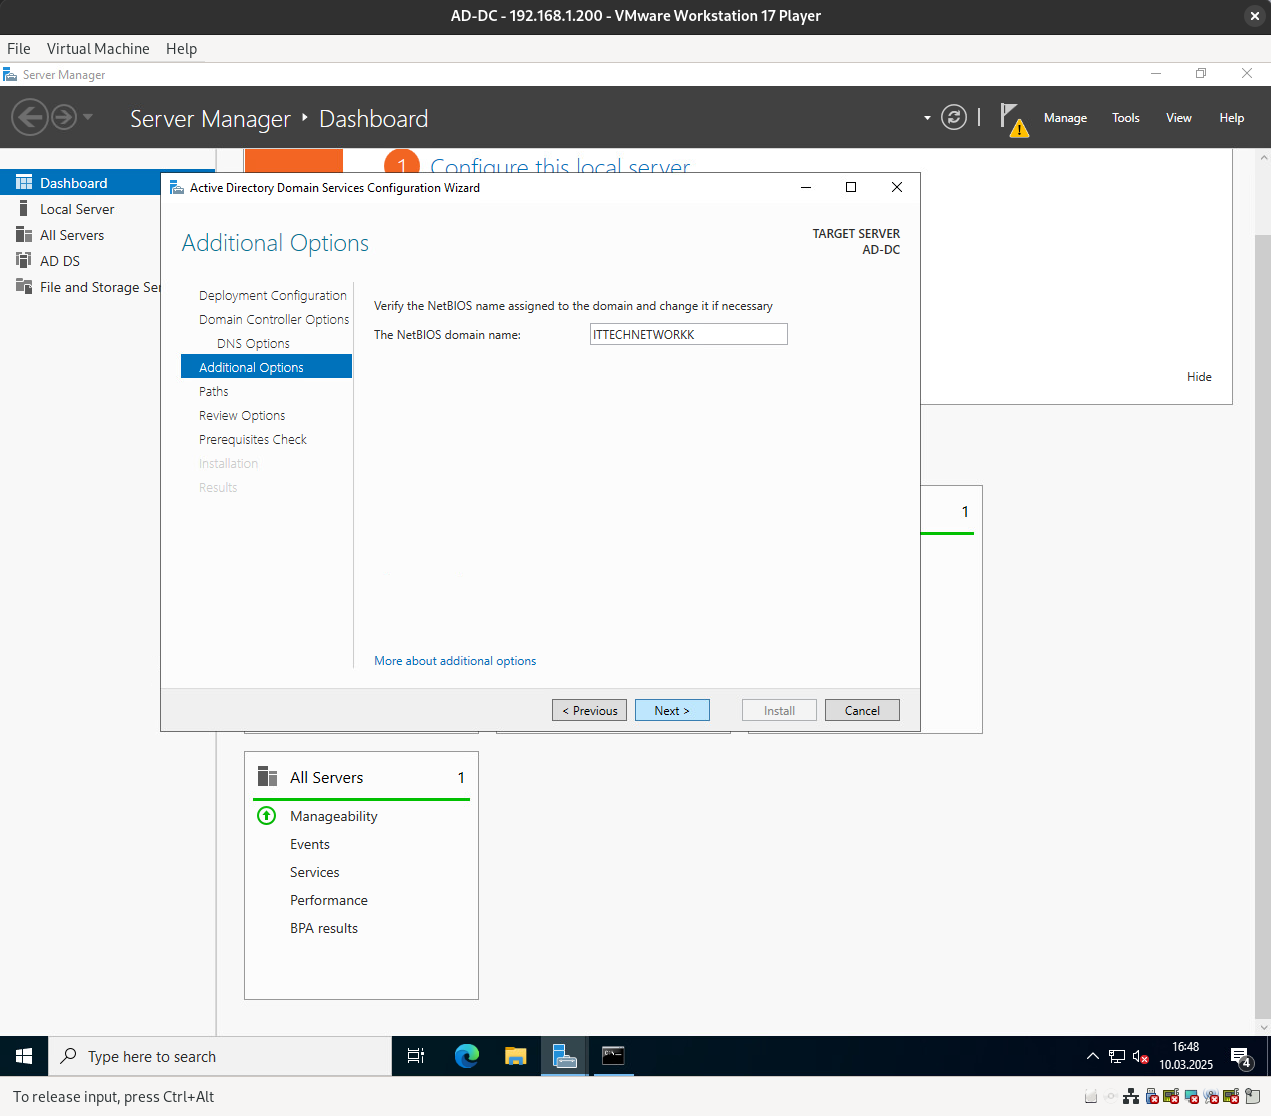
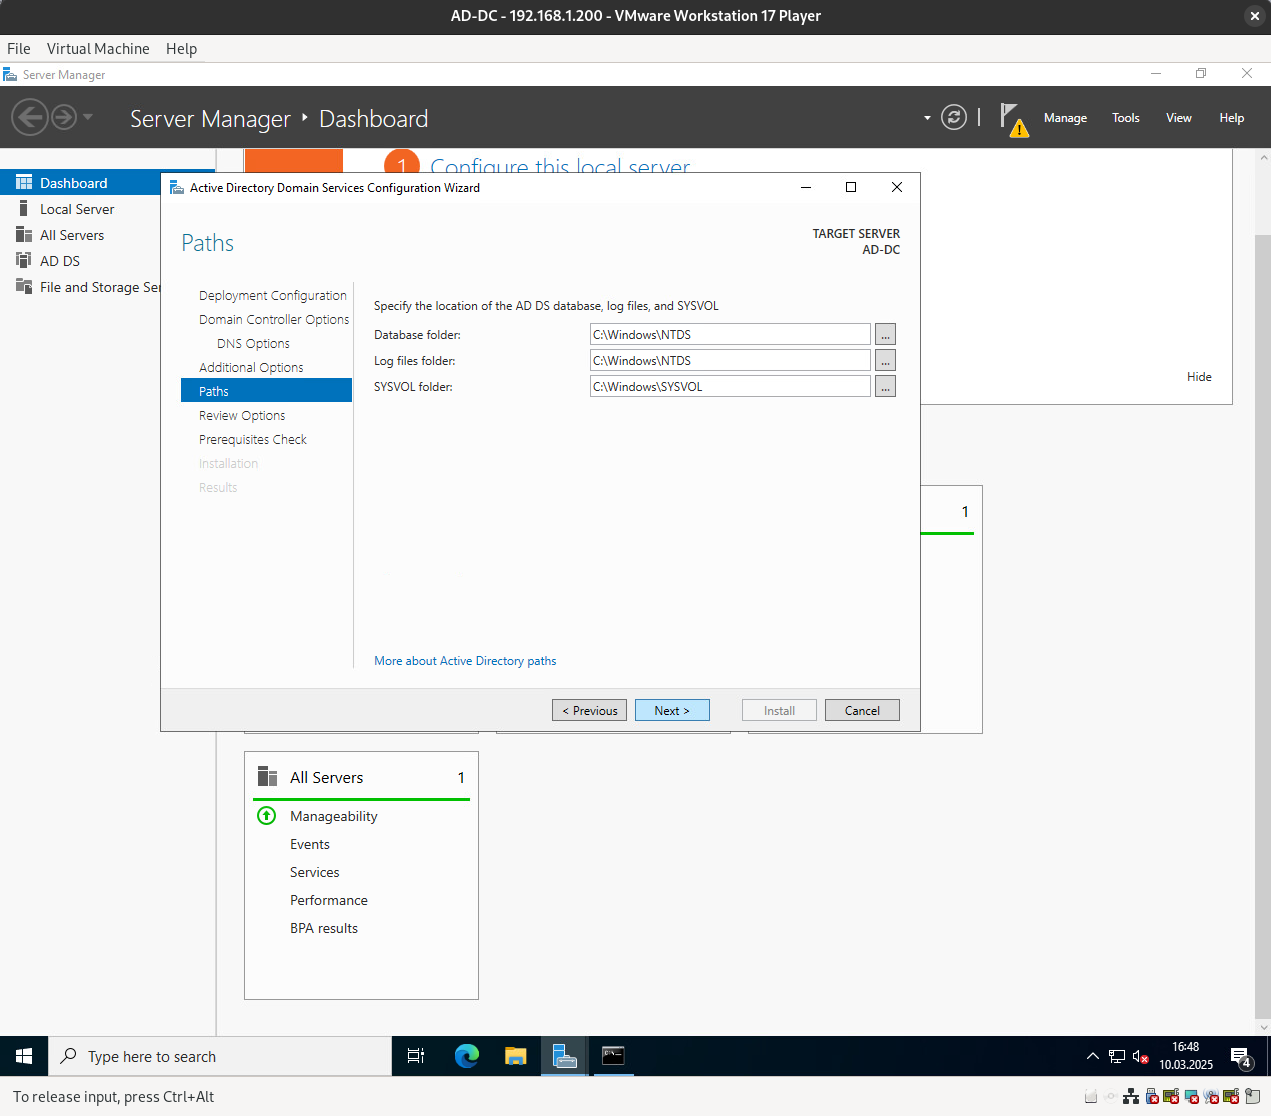
Here are the next steps:


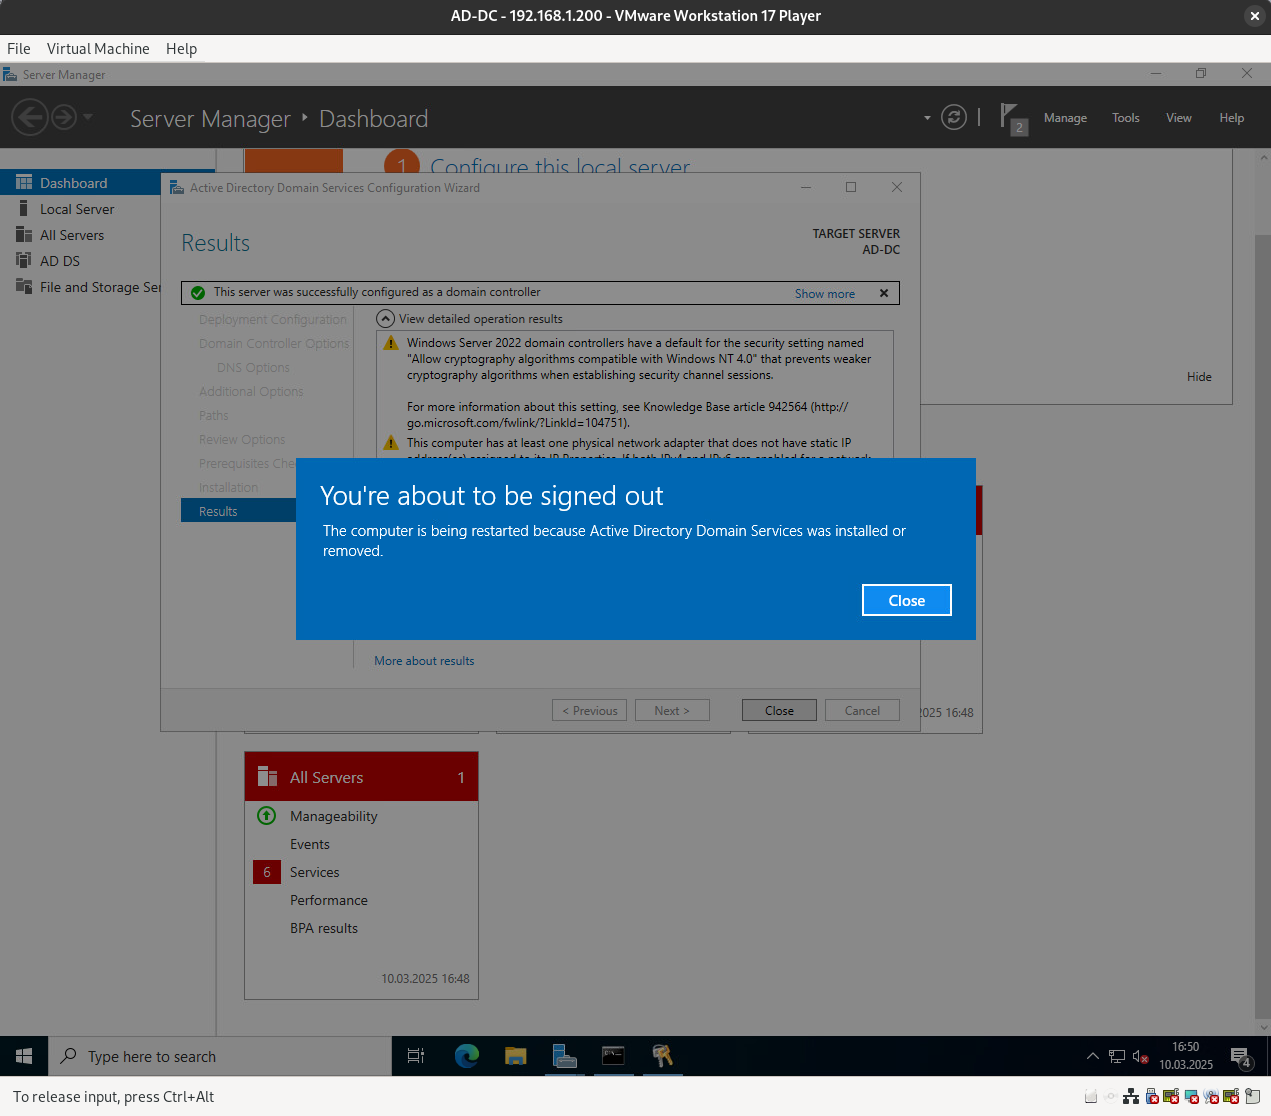

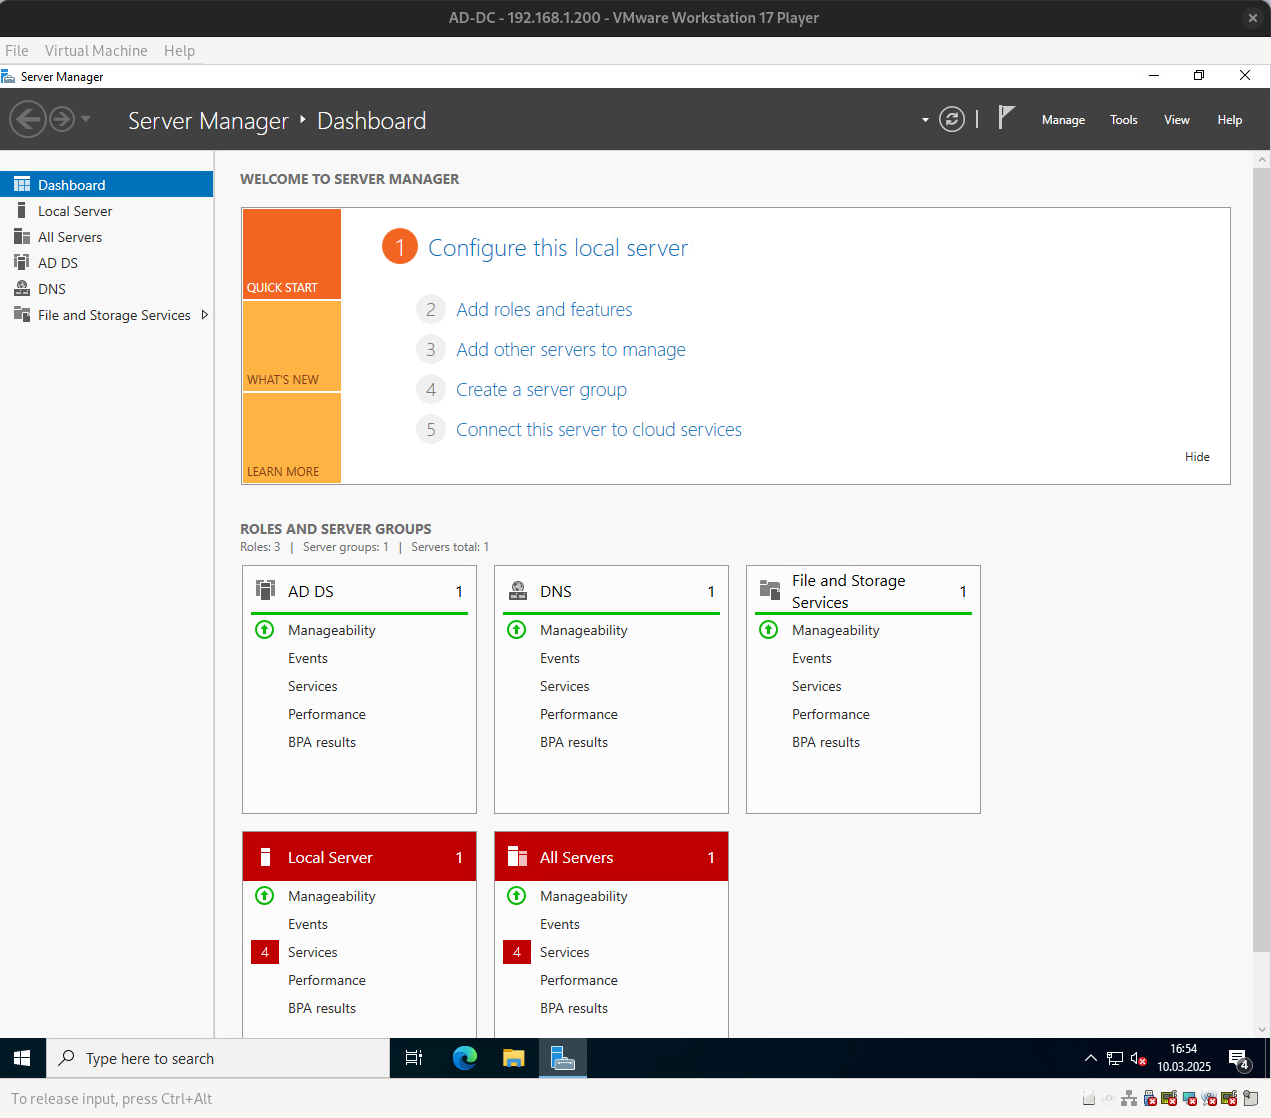
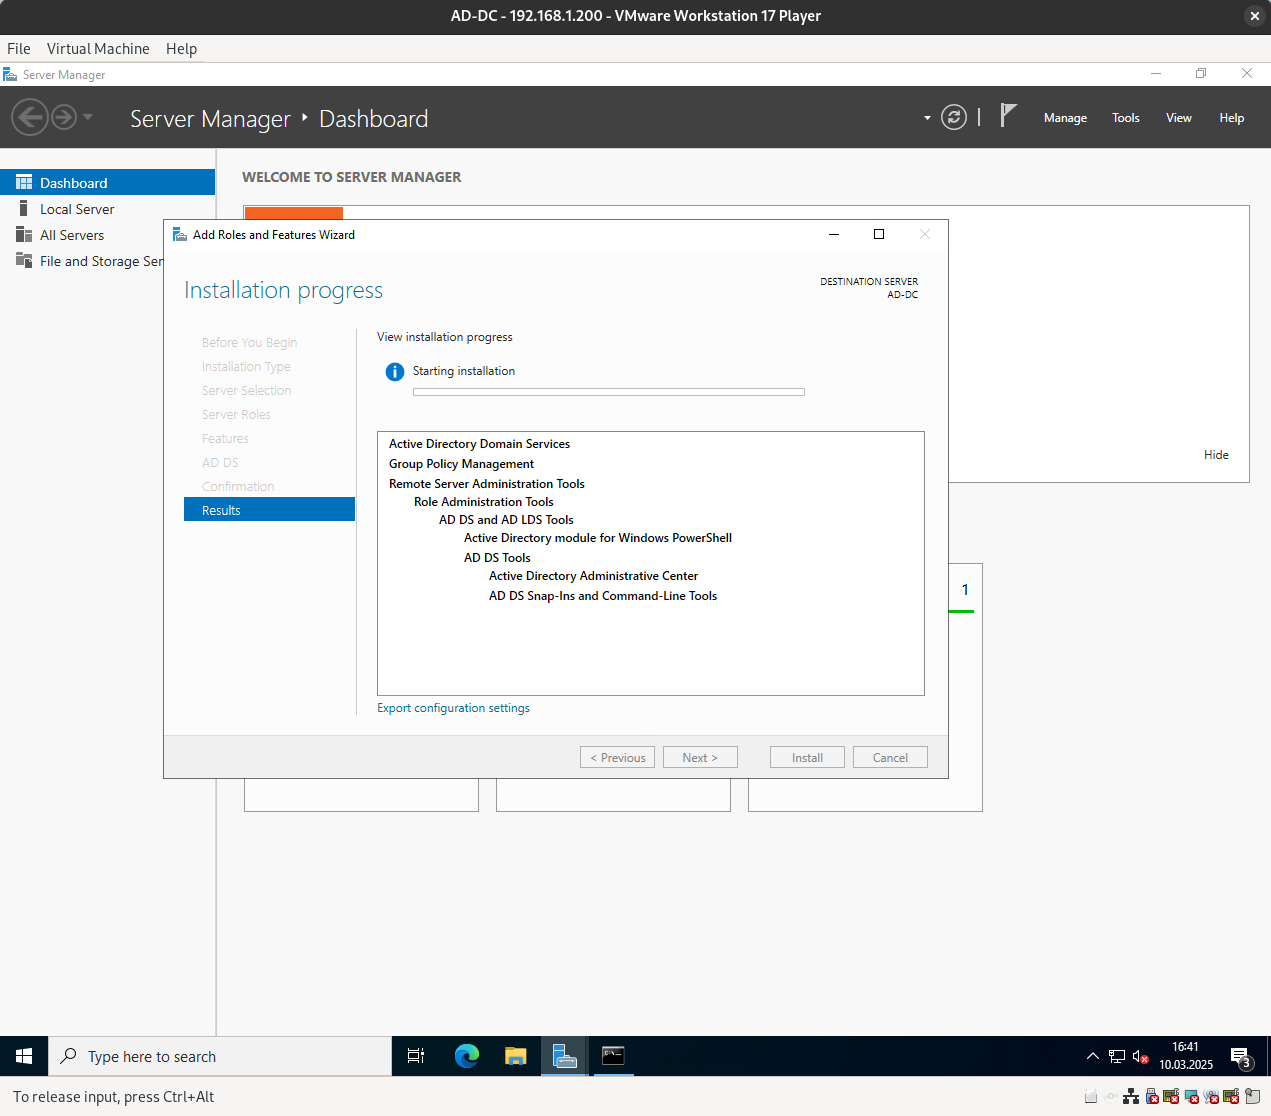
The Active Directory Domain Controller role has been successfully installed.
Thanks for reading. I hope you found it useful.
Keep up the good work!